How we made replicas of the first Slovak satellite
Slovakia will soon have its first satellite! It is the work of the team from SOSA (Slovak Organization for Space Activities). Unfortunately we didn’t have a chance to participate directly in the production but we were asked to create 11 copies in scale 1:1 that look like the original. Let’s have a look how the process was carried out.
I do not know how about you but we do not see a satellite every day. Therefore we jumped into the project with full working enthusiasm.
The entire process step by step
The first idea that came from SOSA was to print models and place them on wooden stands. We were not very happy with this first plan because it did not reflect the uniqueness of the device. We suggested to mill it from aluminum and combine it with 3D printed parts. We proposed two variants which differed in quality of details and materials. Finally the client chose the more elegant one with the glass stand.
Ten satellite copies that we manufactured were sent to the major project partners and one was kept in SOSA.
The models were assembled of the following:
110 solar panels
33 earth-sensors
11 satellite bodies
11 service ports
11 lenses
11 glass stands
11 tags with a thank you message for the partner’s help
Immediately after the terms were agreed we started to work on the project. We had only less than a month of time spanning over Christmas and New Year, which has its own challenges. First of all it was necessary to split the 3D model and create data for milling and 3D printing.
Milling the block of aluminum
We saved lots of time to mill the satellite body from one piece of aluminum (110 x 110 x 140 mm) and not to assemble it of separated sides. Then there were milled holes for specific details: earth-sensors, service ports, lenses, solar panels and outlined sun-sensors.
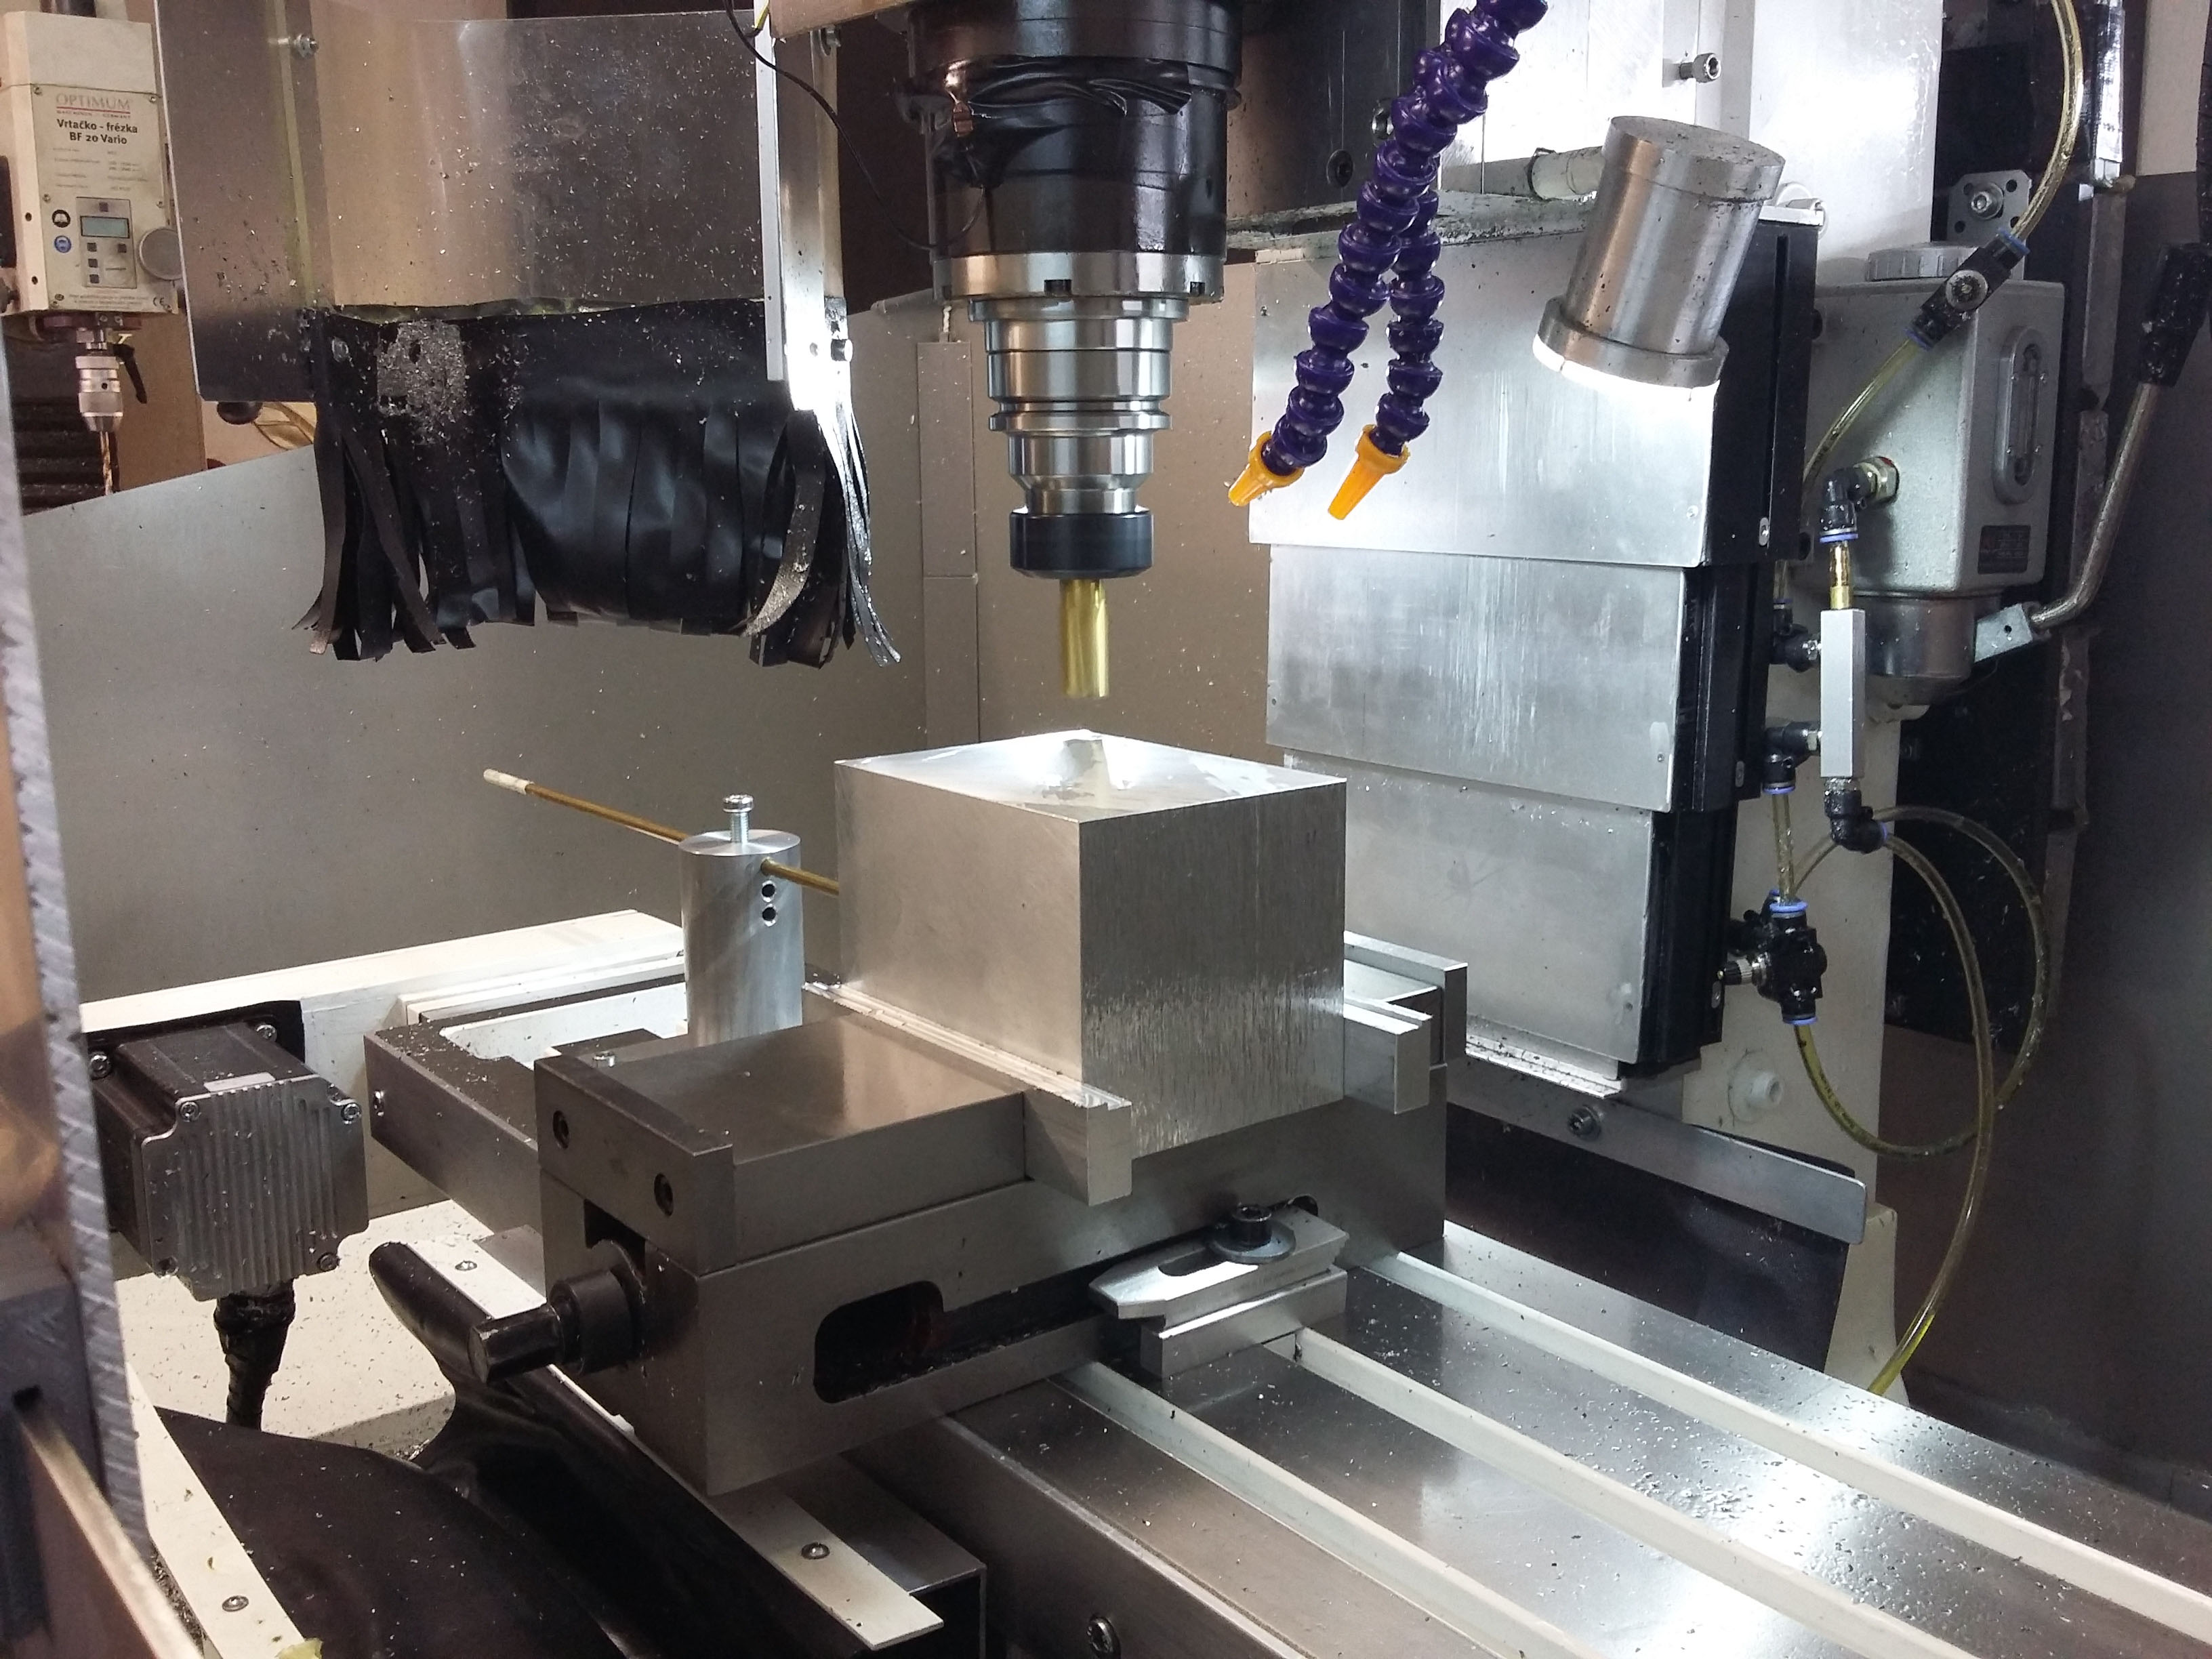 Block of aluminum from which was milled satellite body.
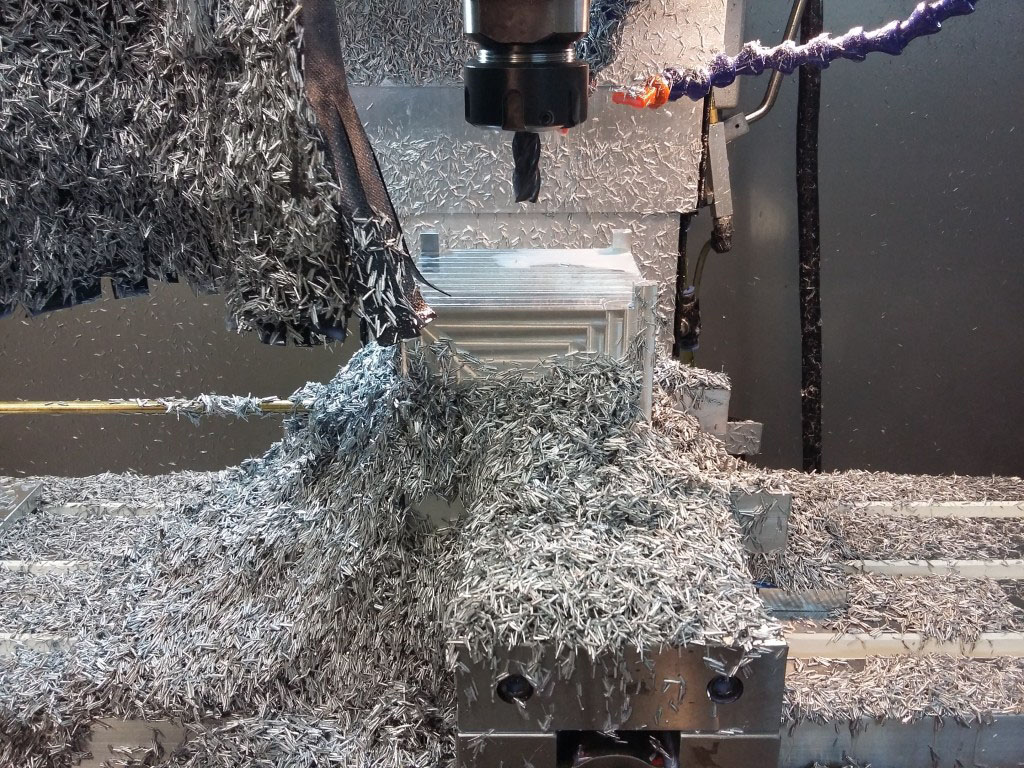 Removing of essential material.
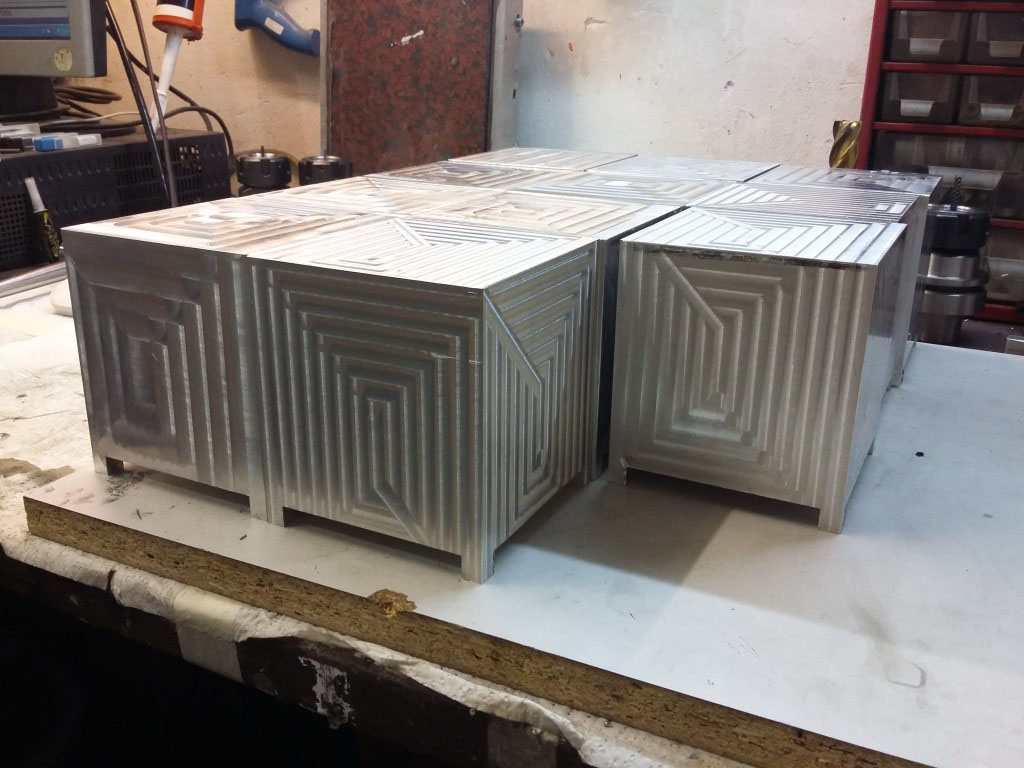 Basic shape of satellite bodies
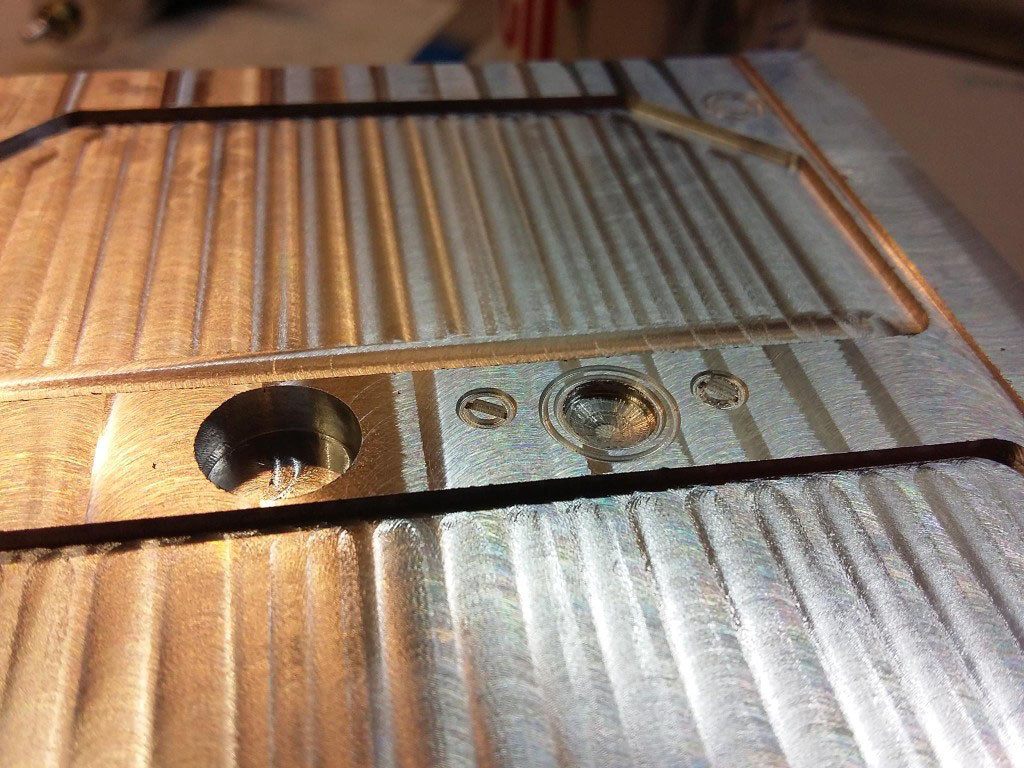 Detail of milled hole for earth-sensor and sun-sensor.
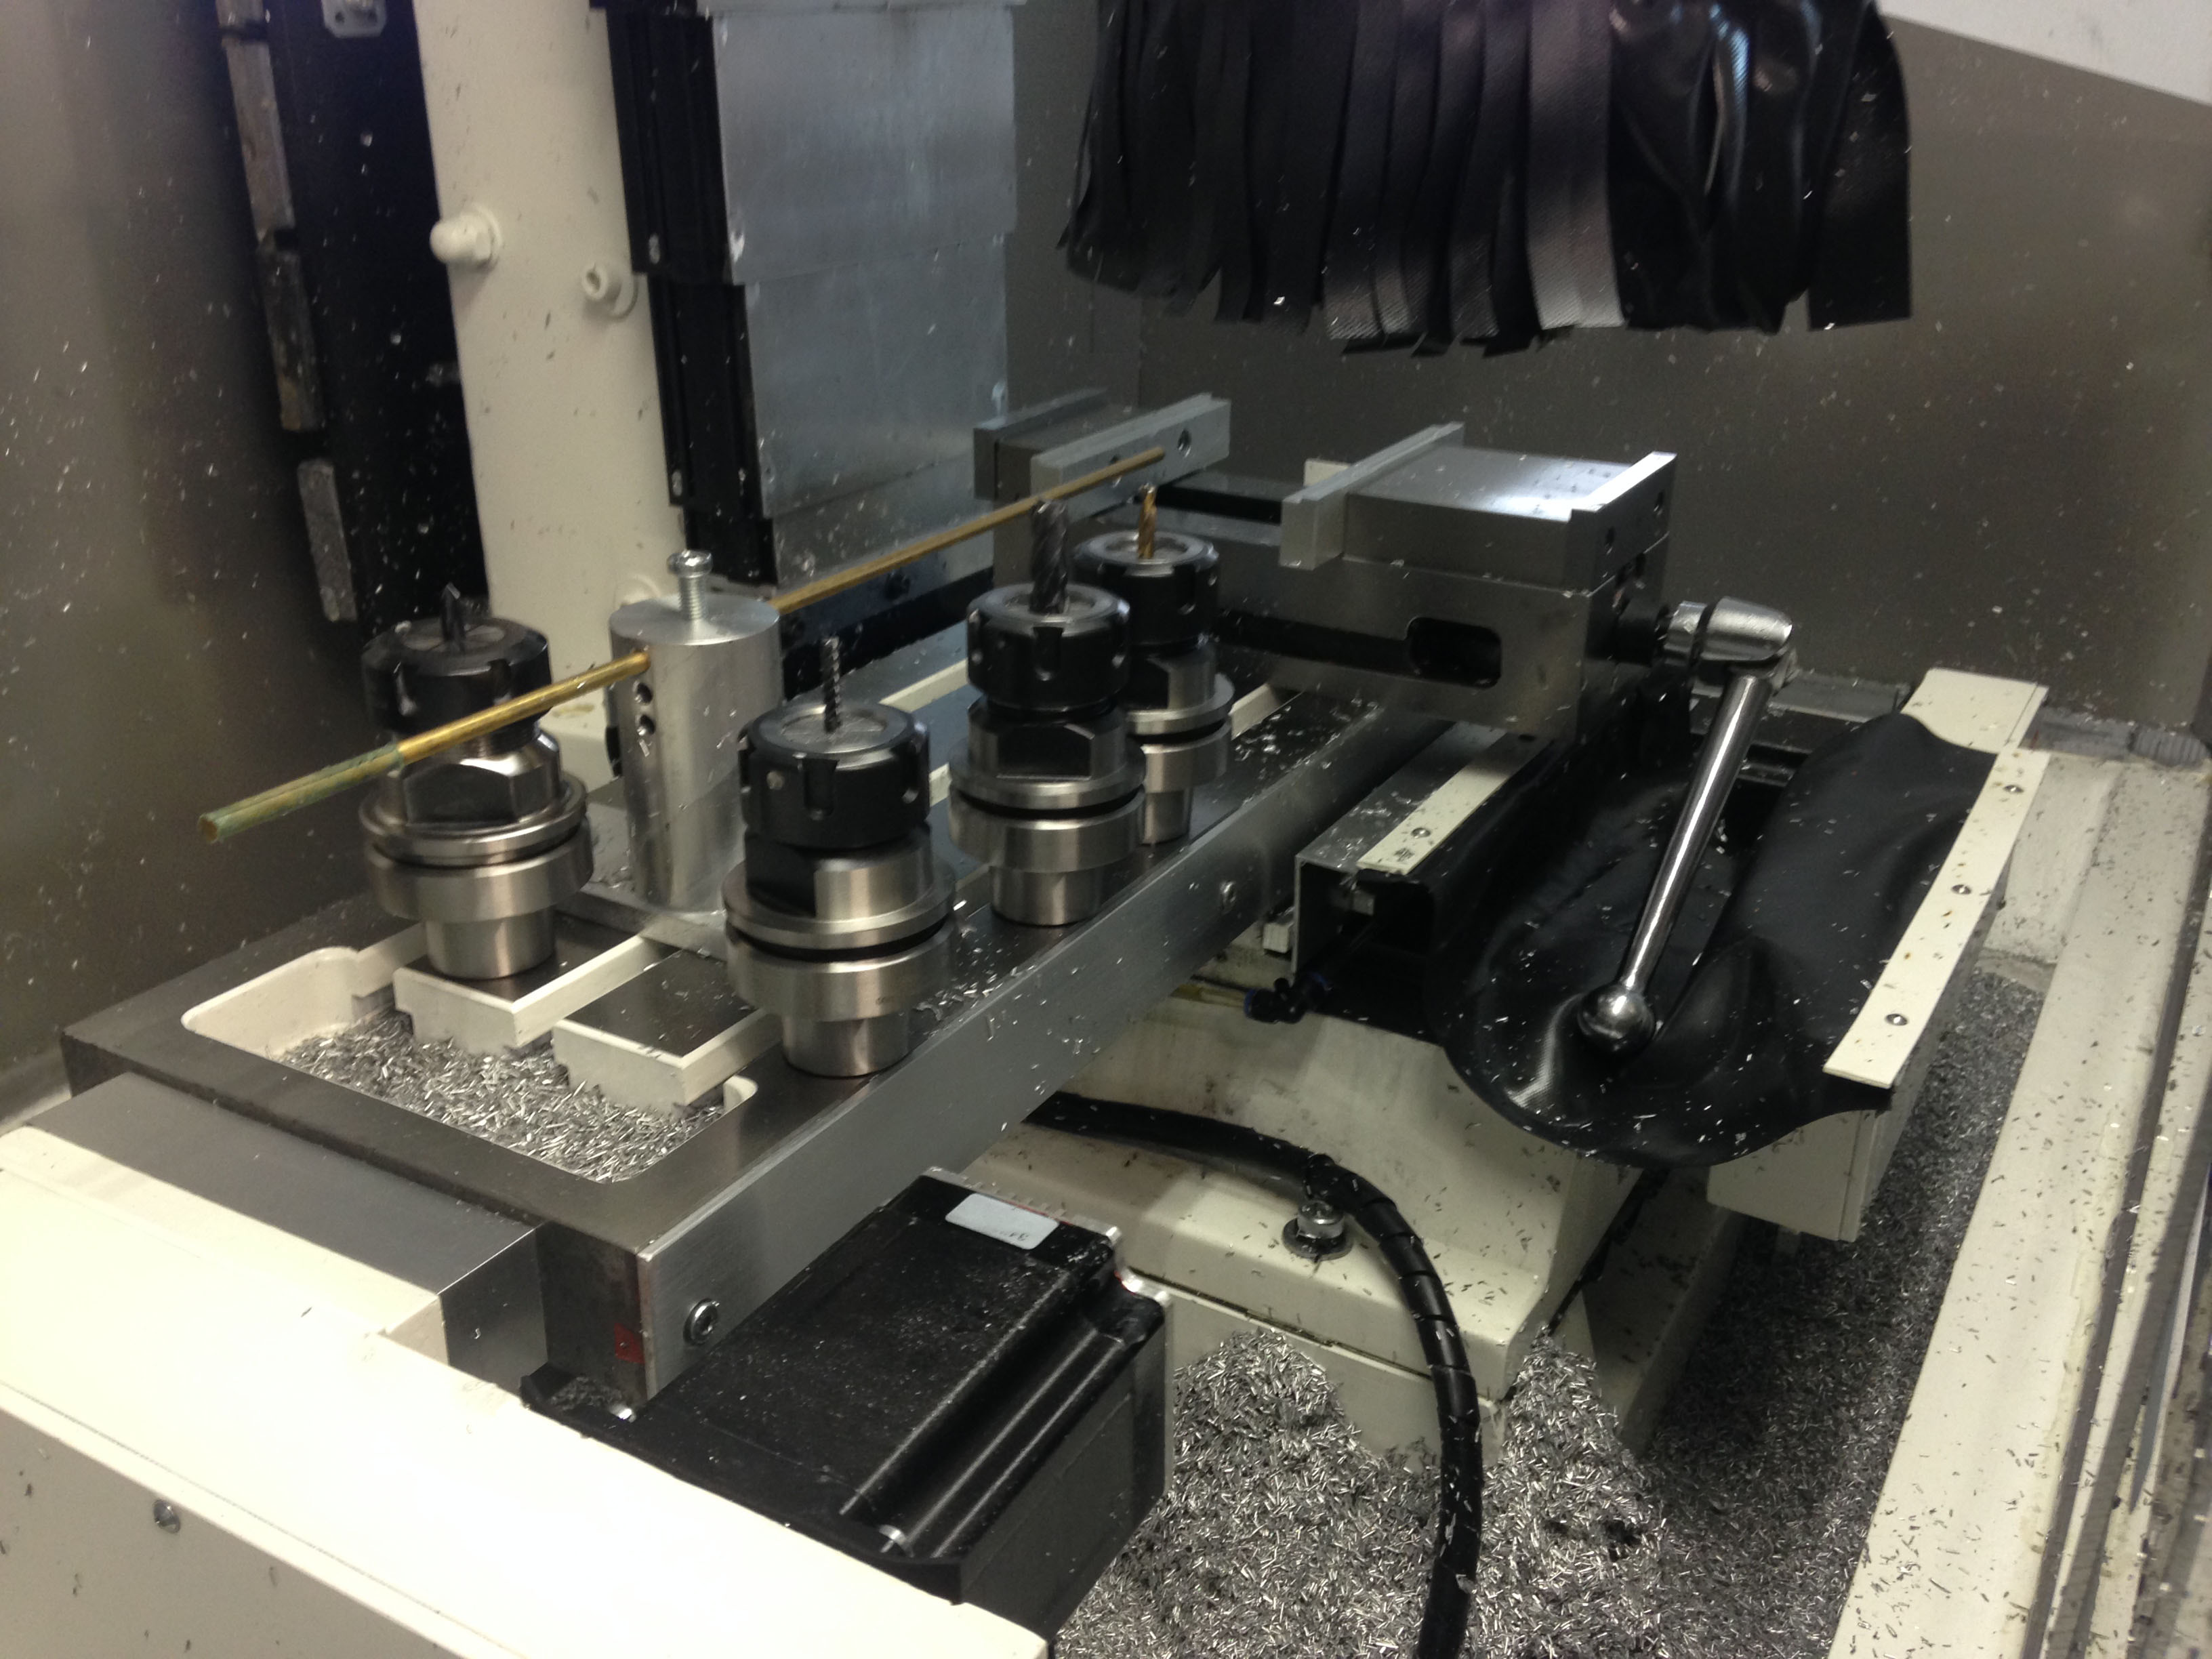
3D printing of details
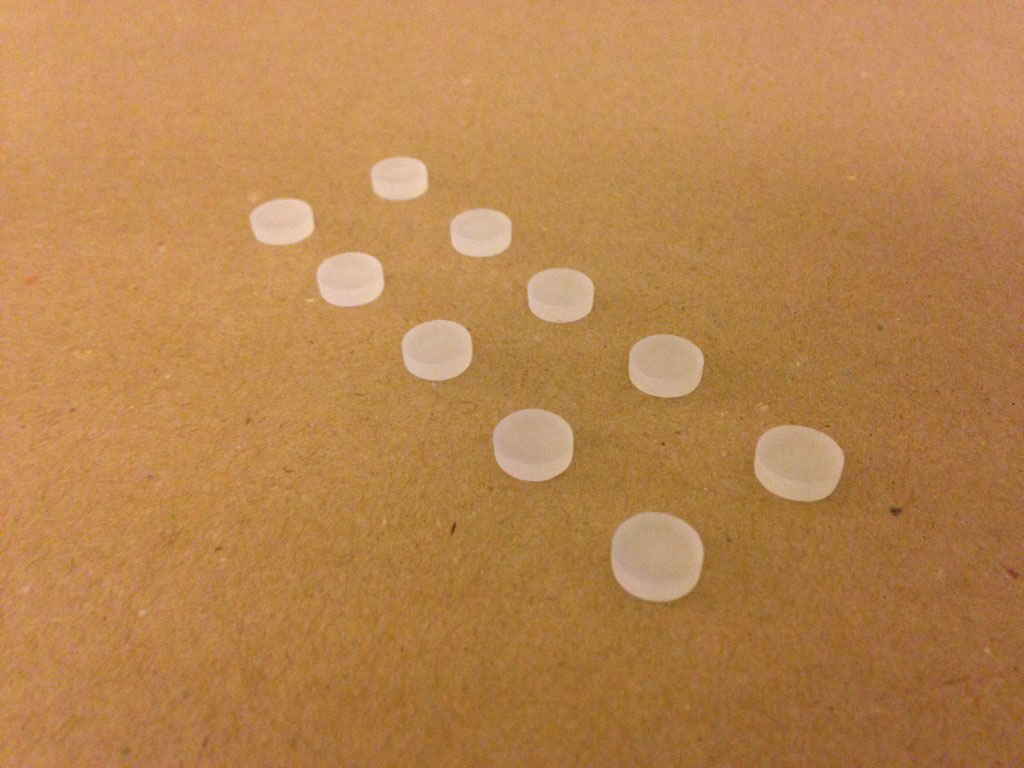
To save time, lenses and service ports were printed of black and transparent detailed resin while the earth sensors were being milled. Lenses from transparent resin were polished and varnished to achieve maximum transparency. To increase optical depth they were painted black on their bottom.
 Earth-sensors
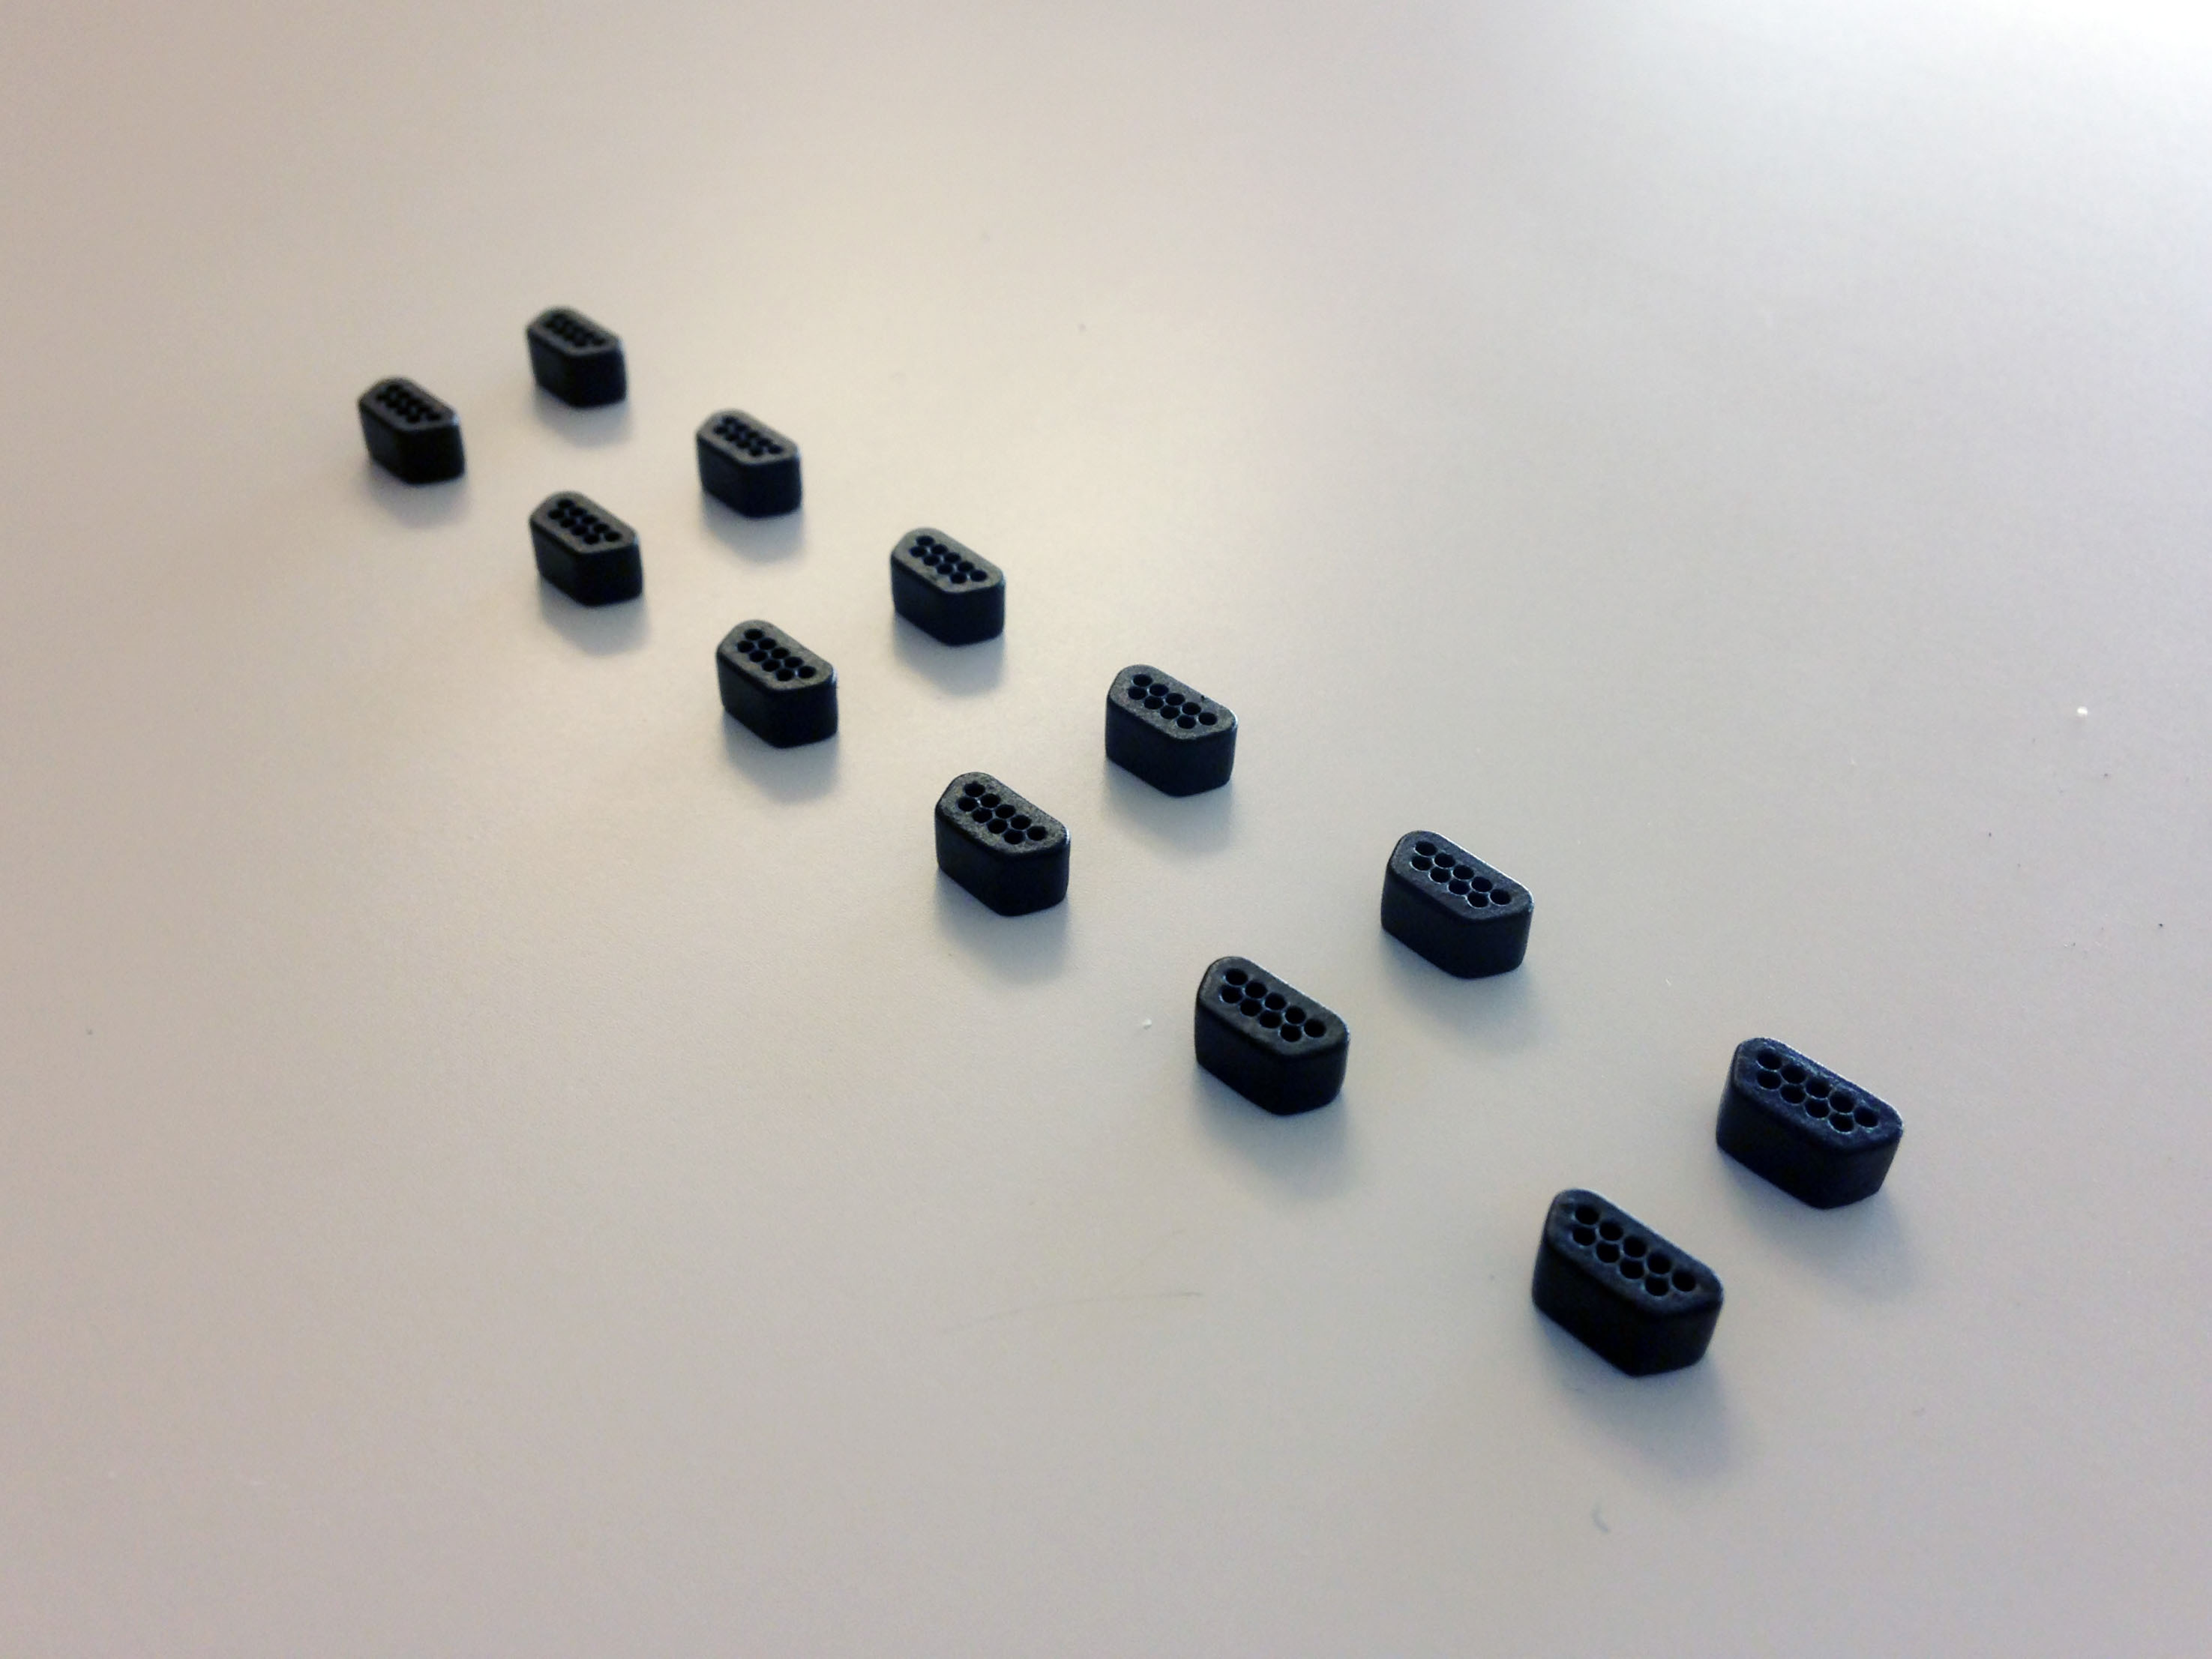 Service ports
 Lenses being printed
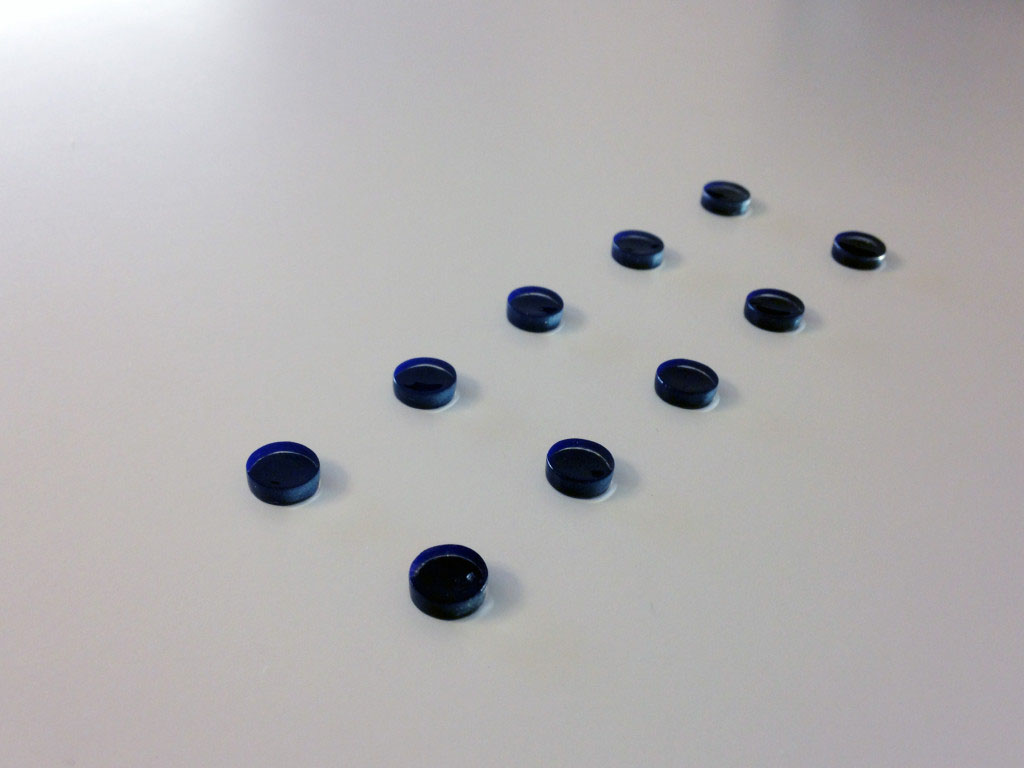 Lenses after printing and painting
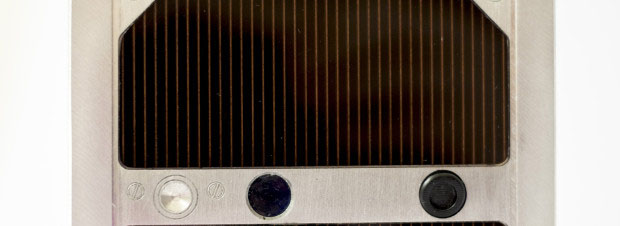
Solar panels milling and finishing
Solar panels were probably the hardest to get right. They were made of transparent plexiglass with dimensions 70 x 40 mm and with the width of 1 mm. Into these sheets slots were milled, which imitated conductive metal parts. Milling had to proceed very slowly in order to keep the plexi cool. After this step each panel was painted with bronze colour and was sanded down, so that the paint only remained in the slots. Afterwards the sanded side was painted black. The opposite side of the panel was kept untouched to create a feeling of depth.
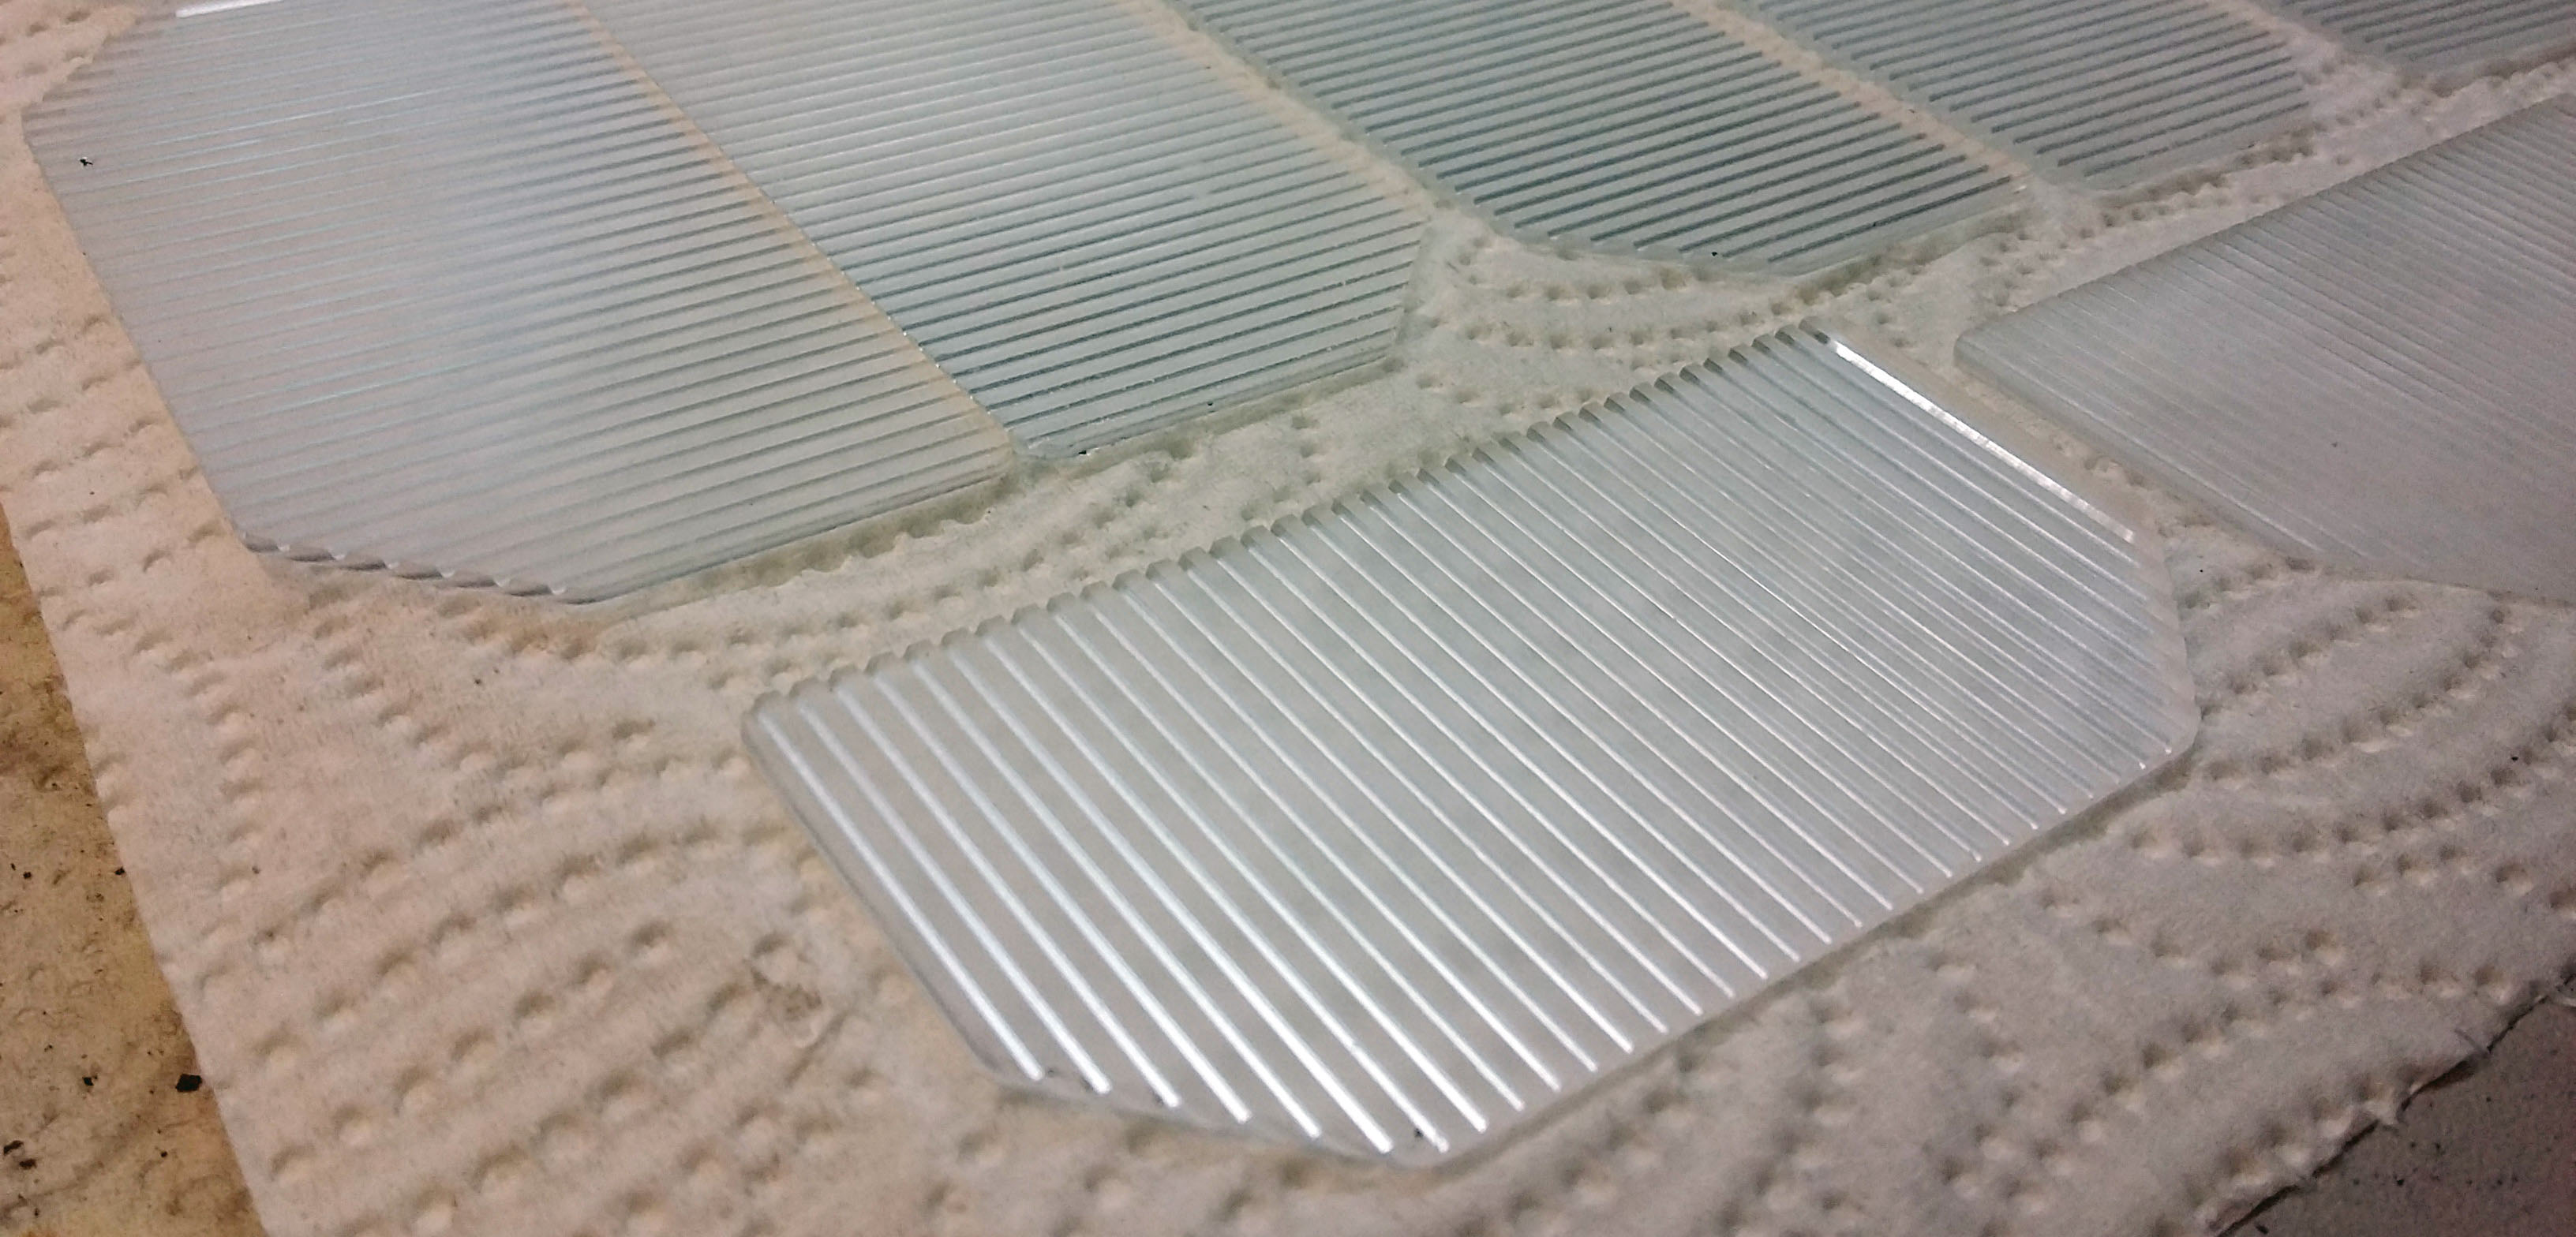 Solar panels with milled slots.
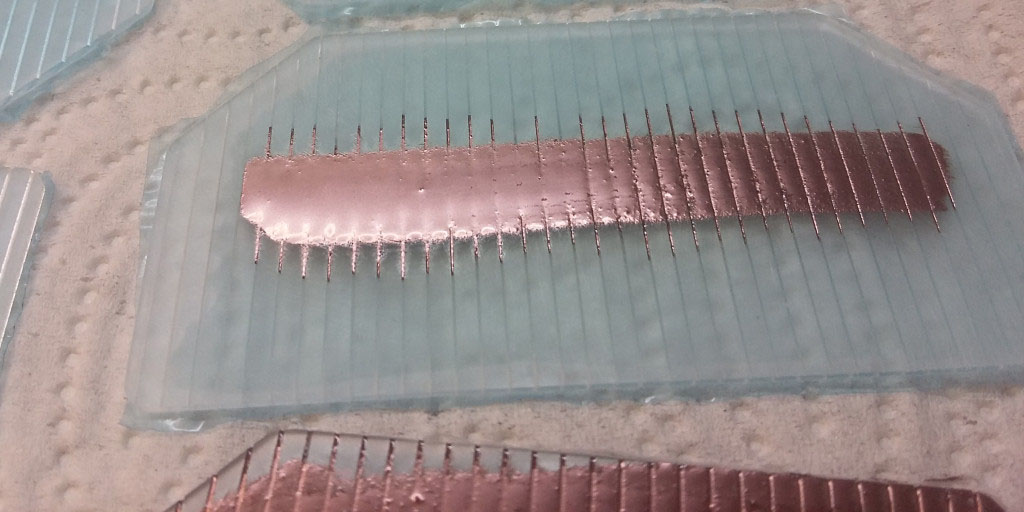 Application of bronze colour into slots.
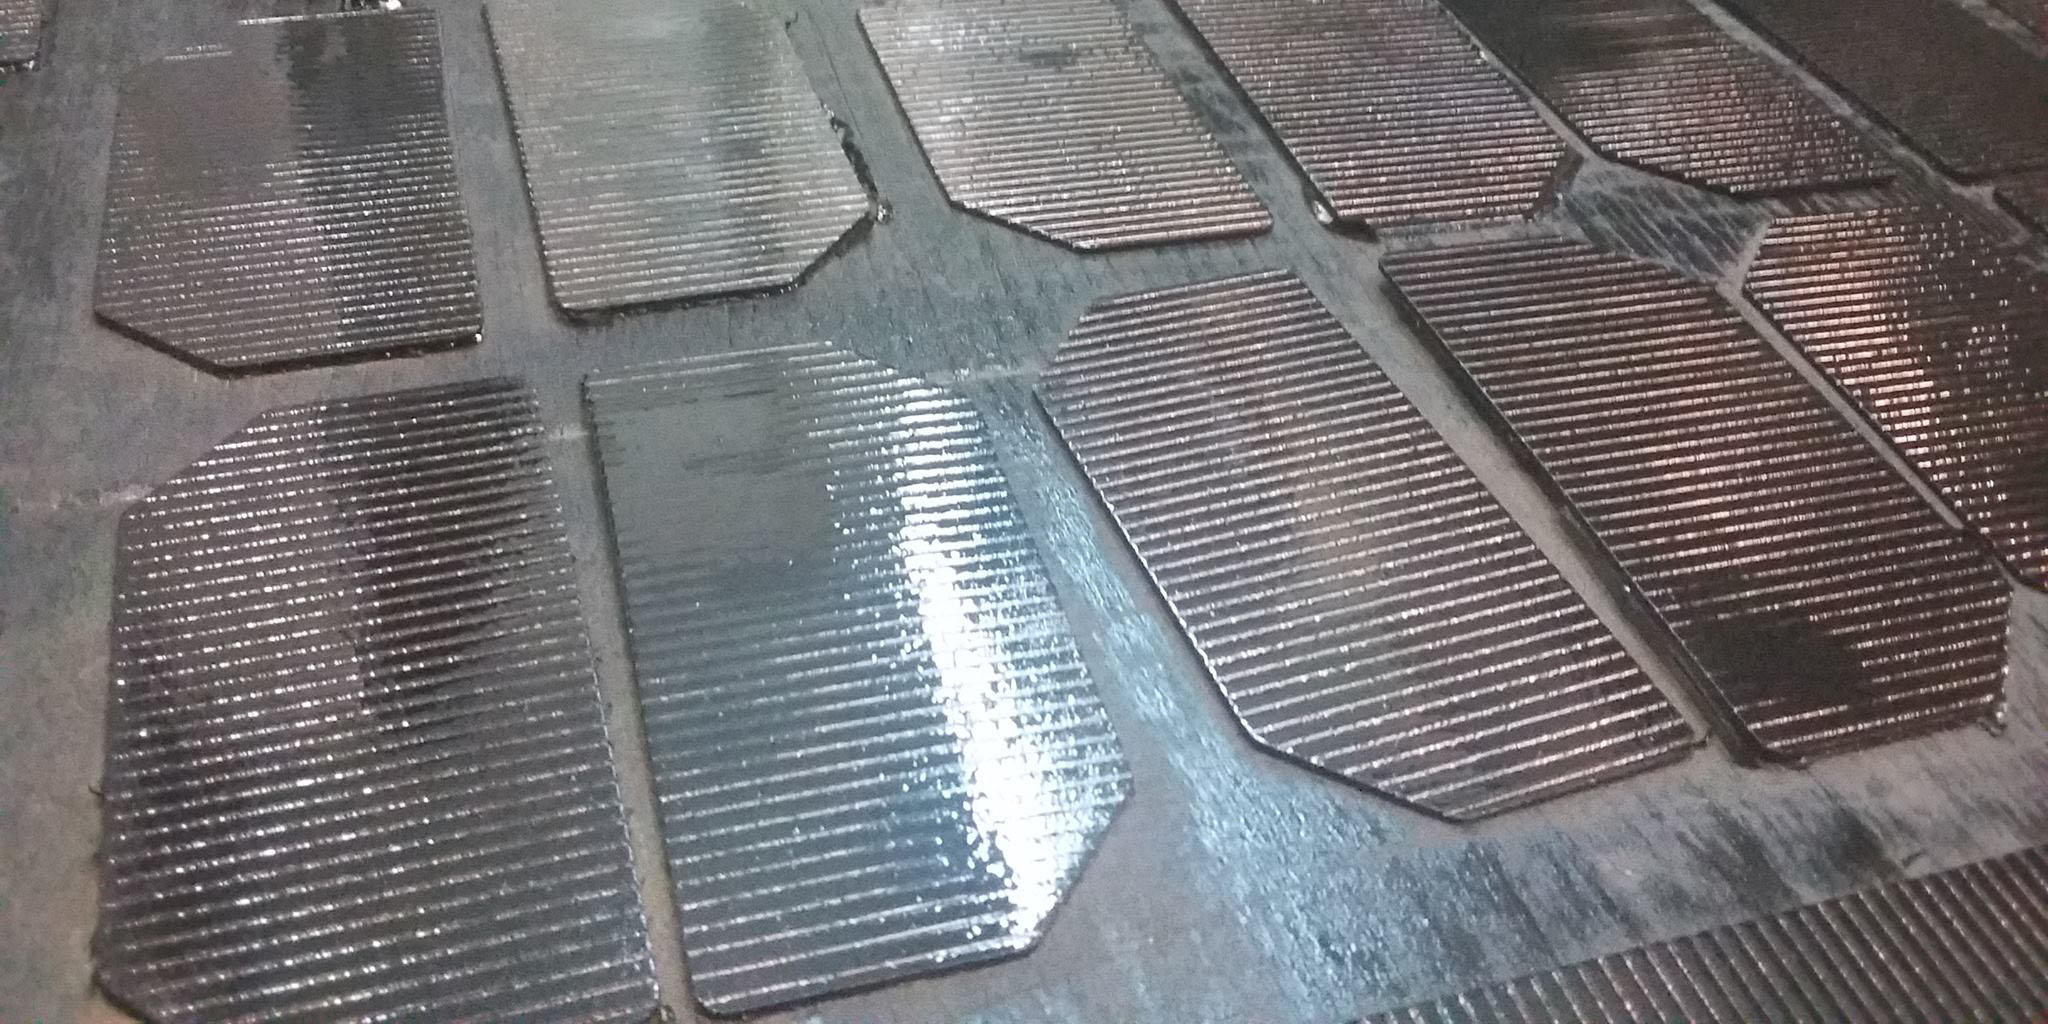 Sanded panels before applying black color.
Tags
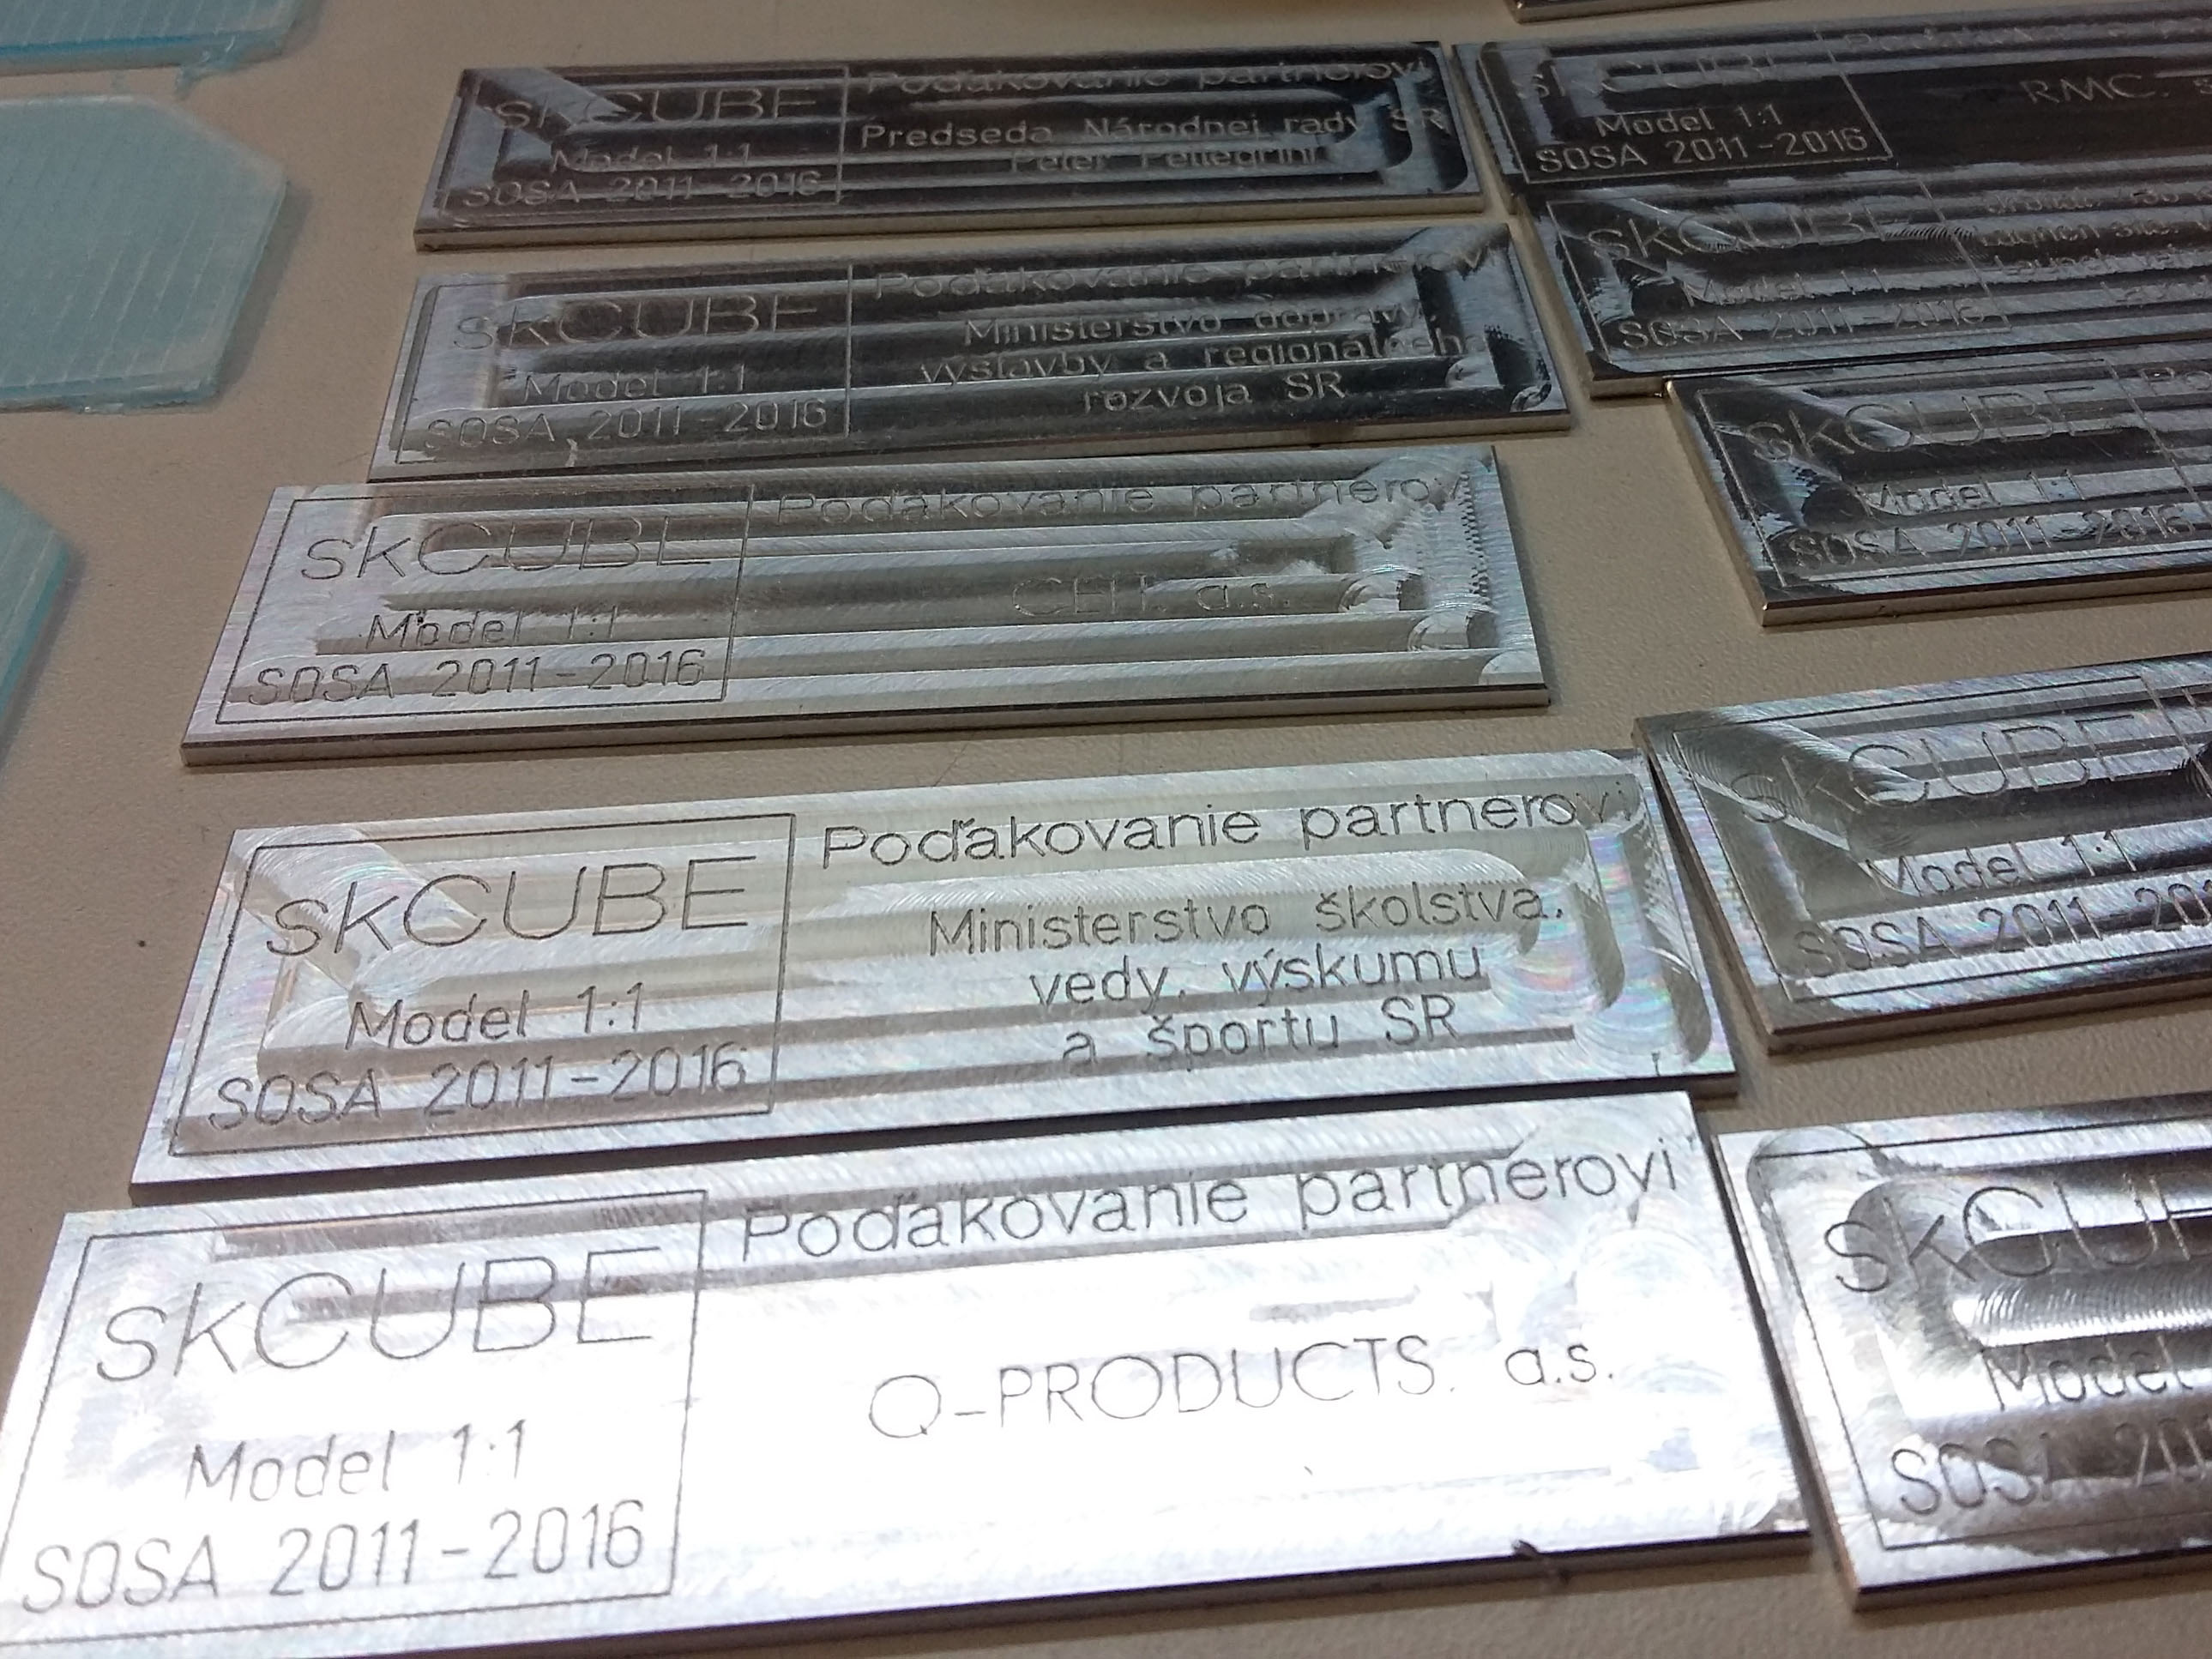
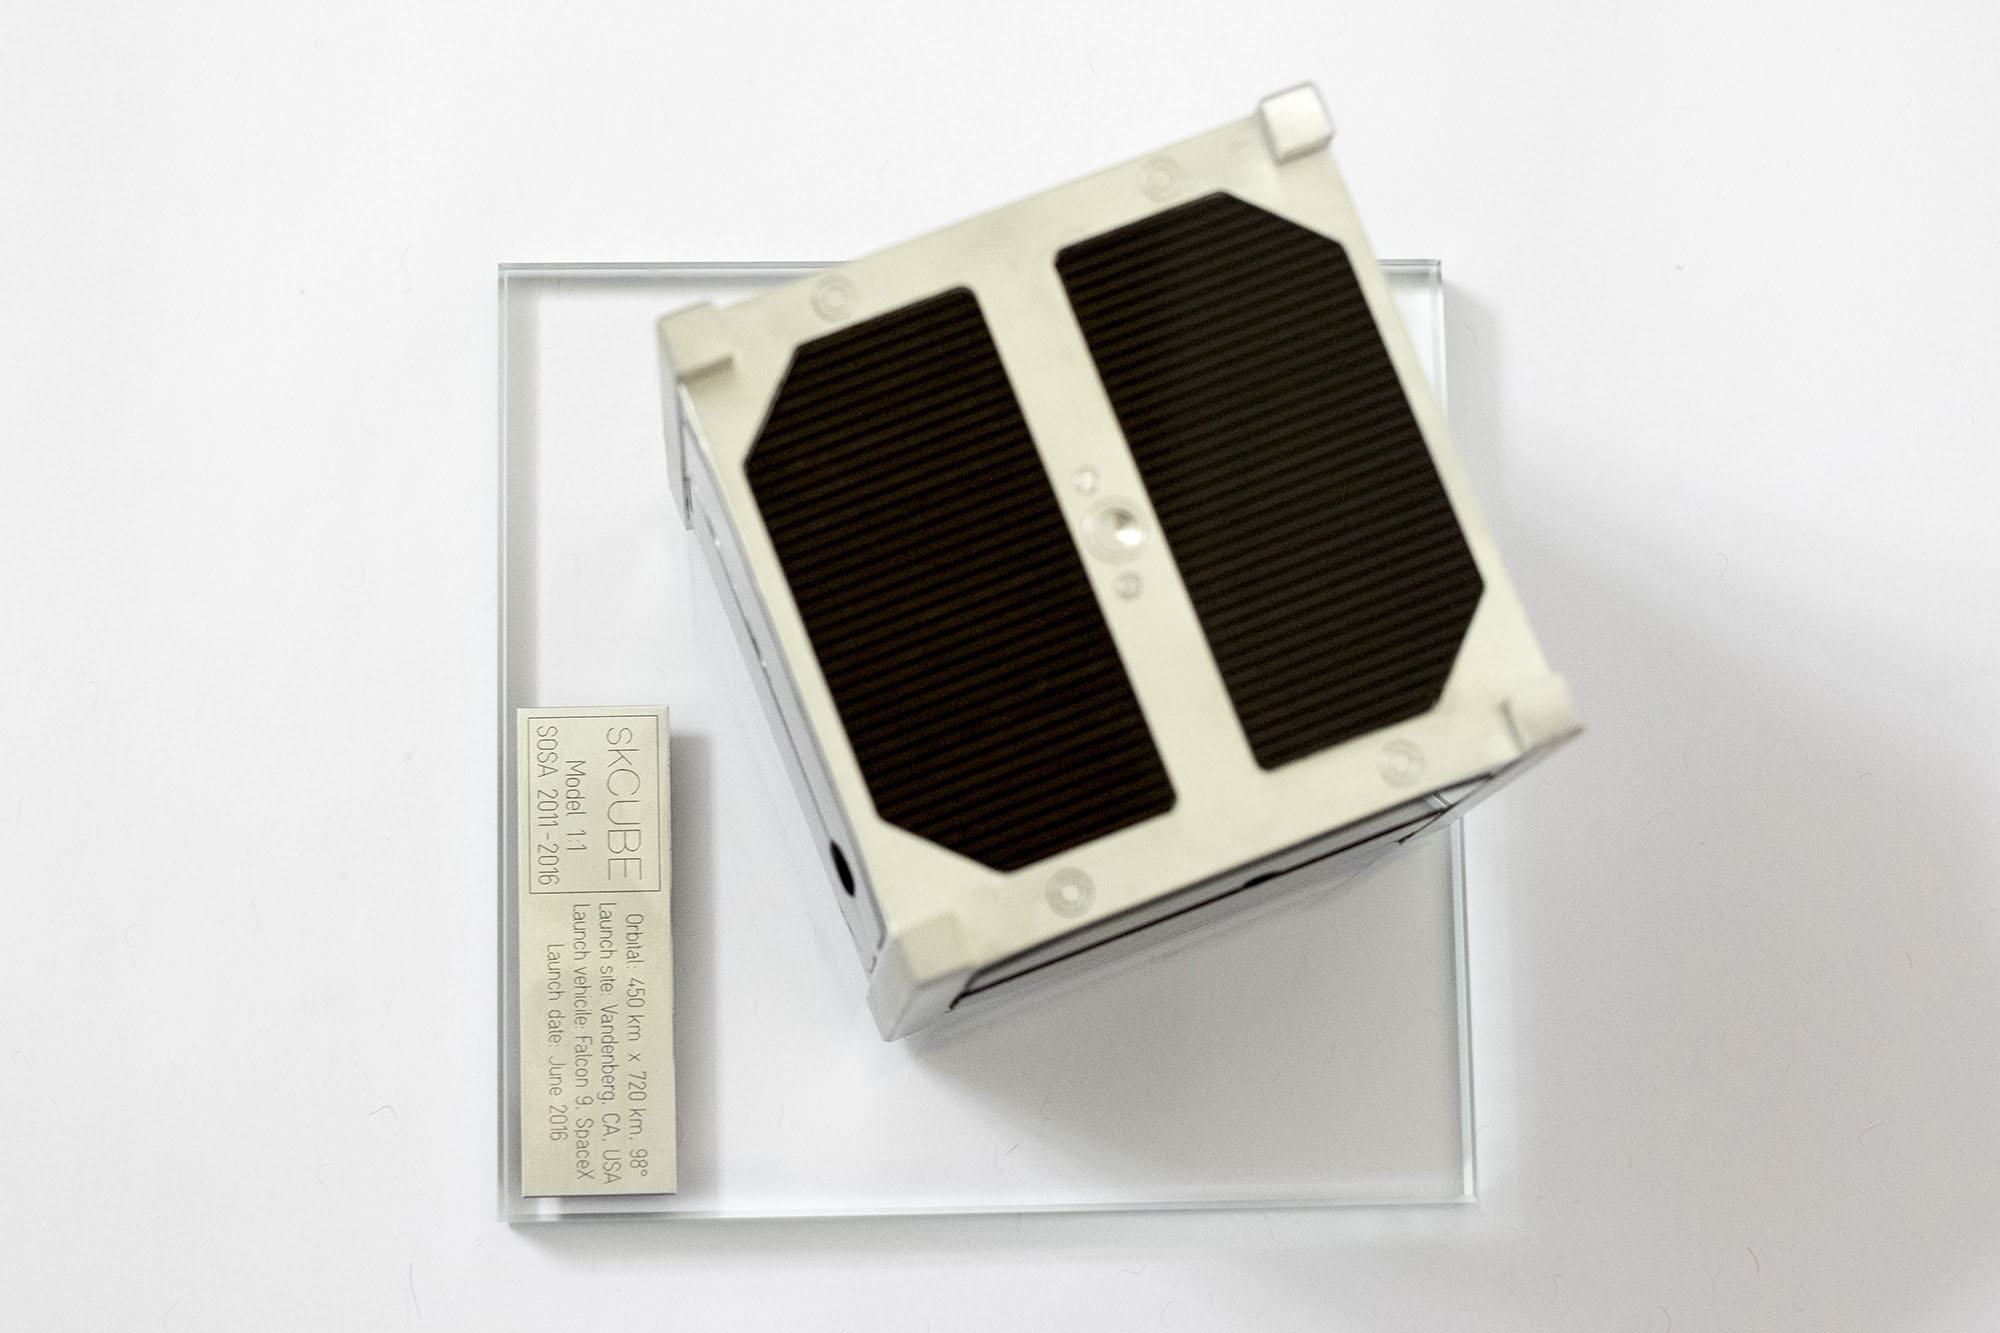
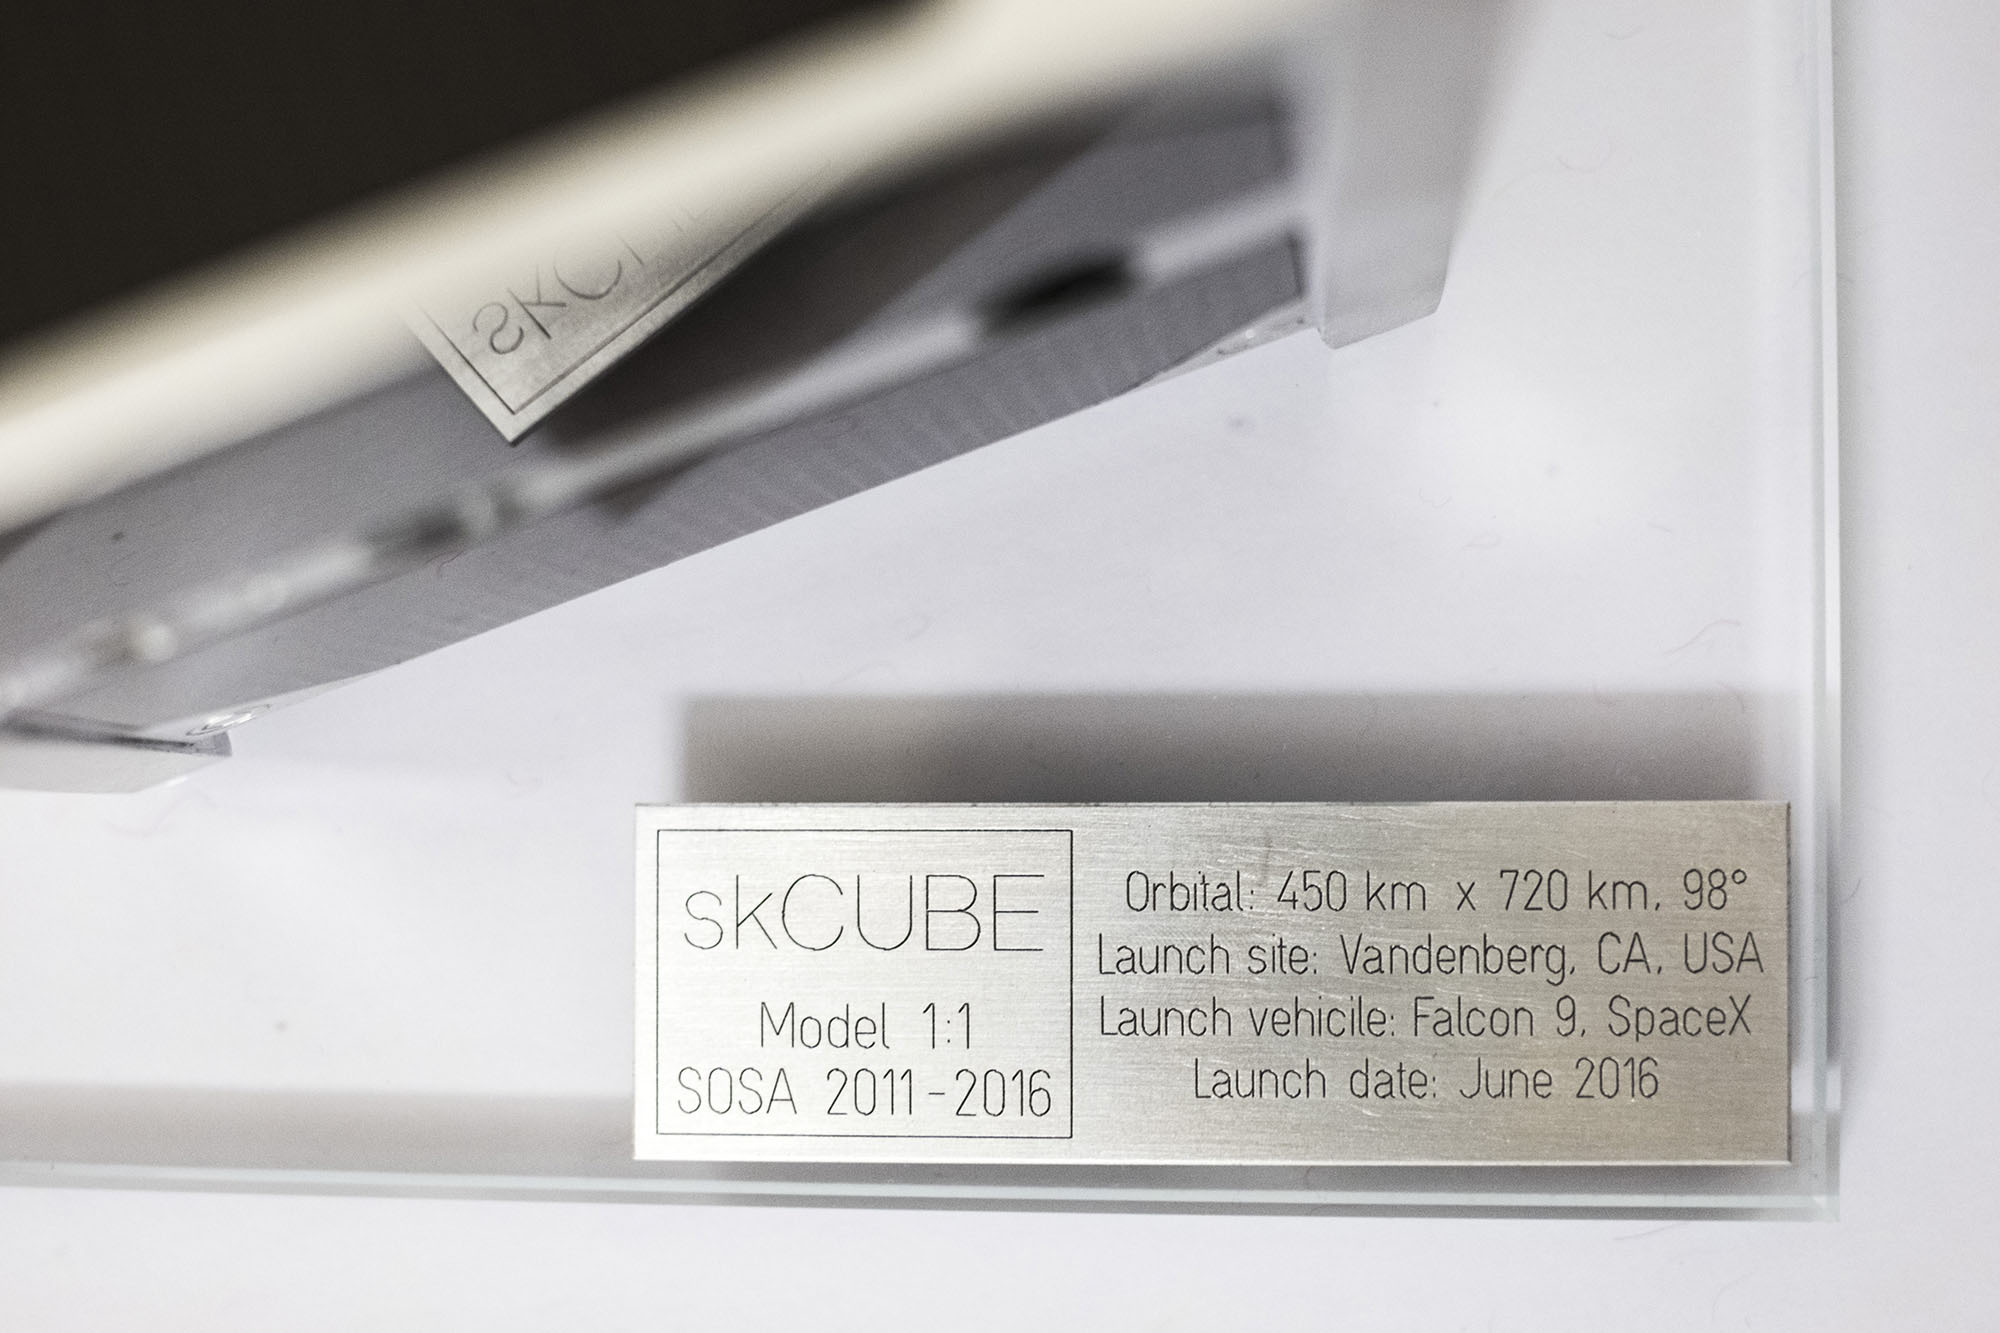
One of the last things was to create aluminum tags with dimensions 25 x 80 mm and with the width of 1 mm. These were engraved with satellite’s name skCUBE and a thank you message for the partner’s help. After engraving black color was poured on the tags and they were sanded to keep the colour just inside the engraved text.
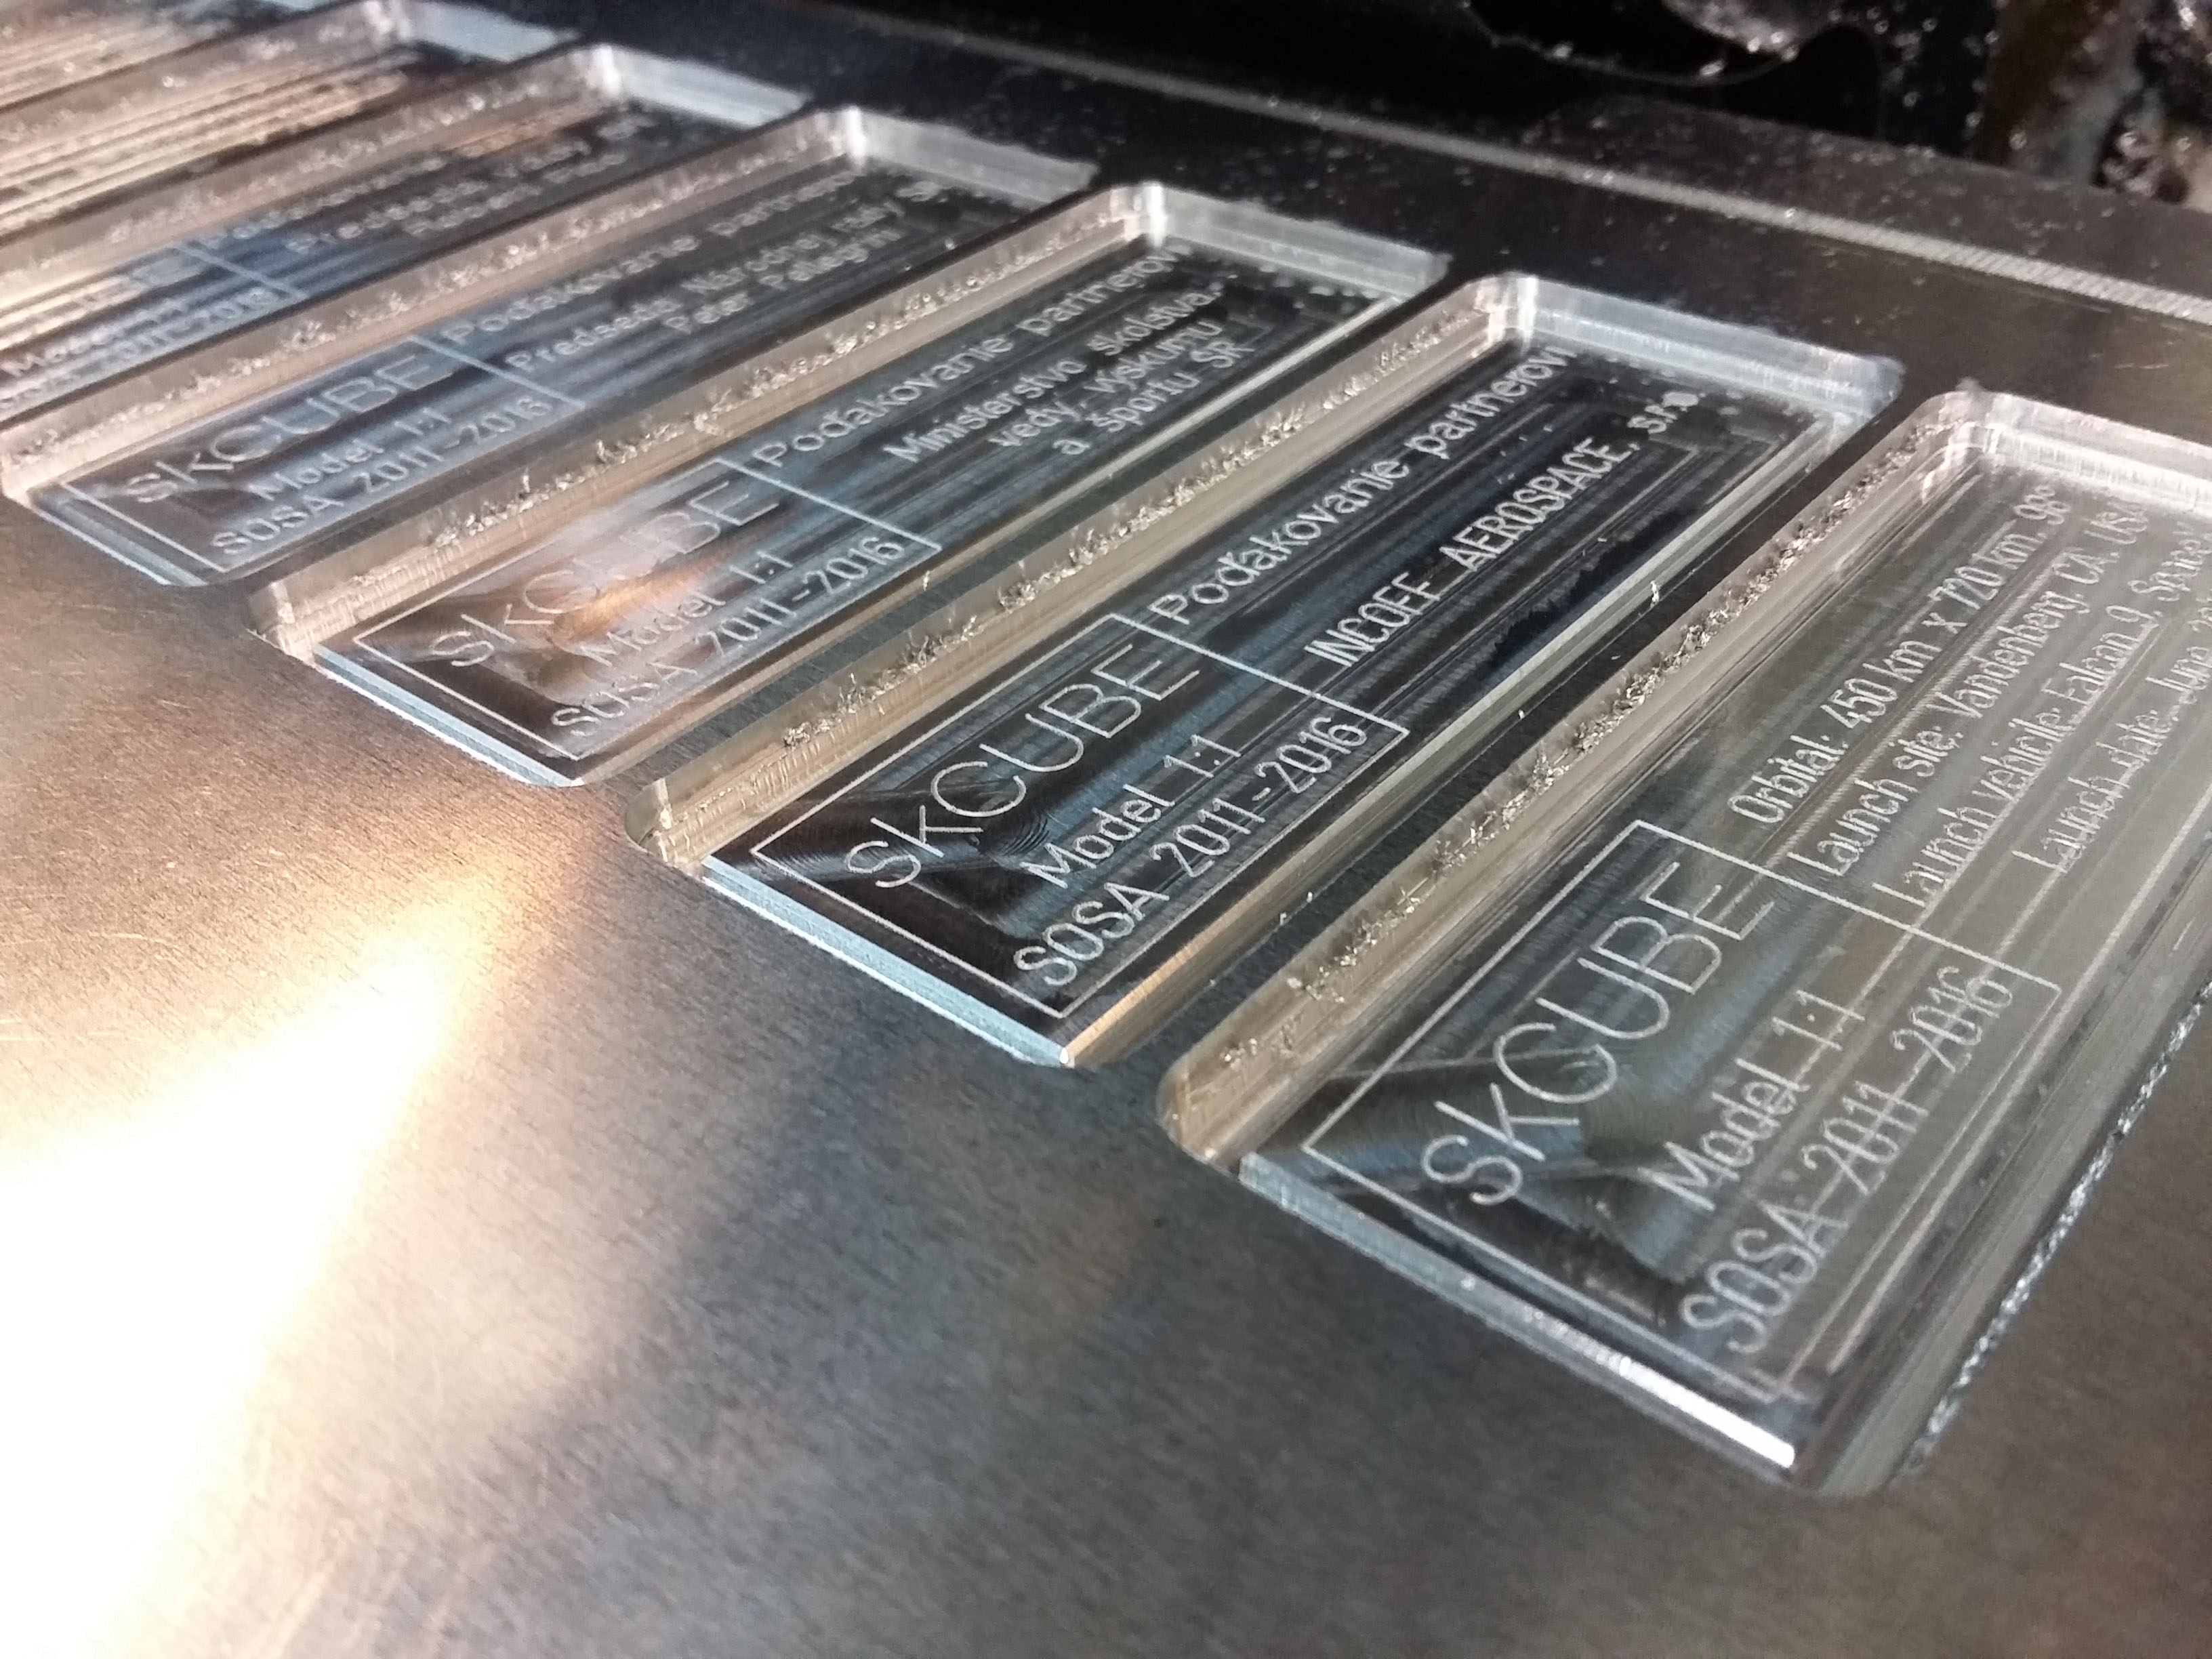
 Milling and engraving of tags.
 Pouring of black color.
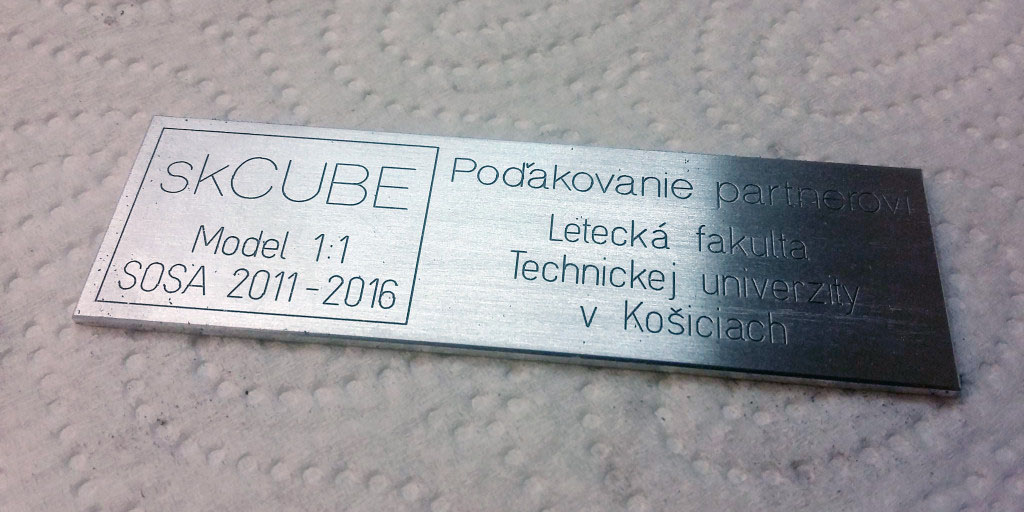 Tag with a thank you message for the partner’s help.
Polishing and assembling of models
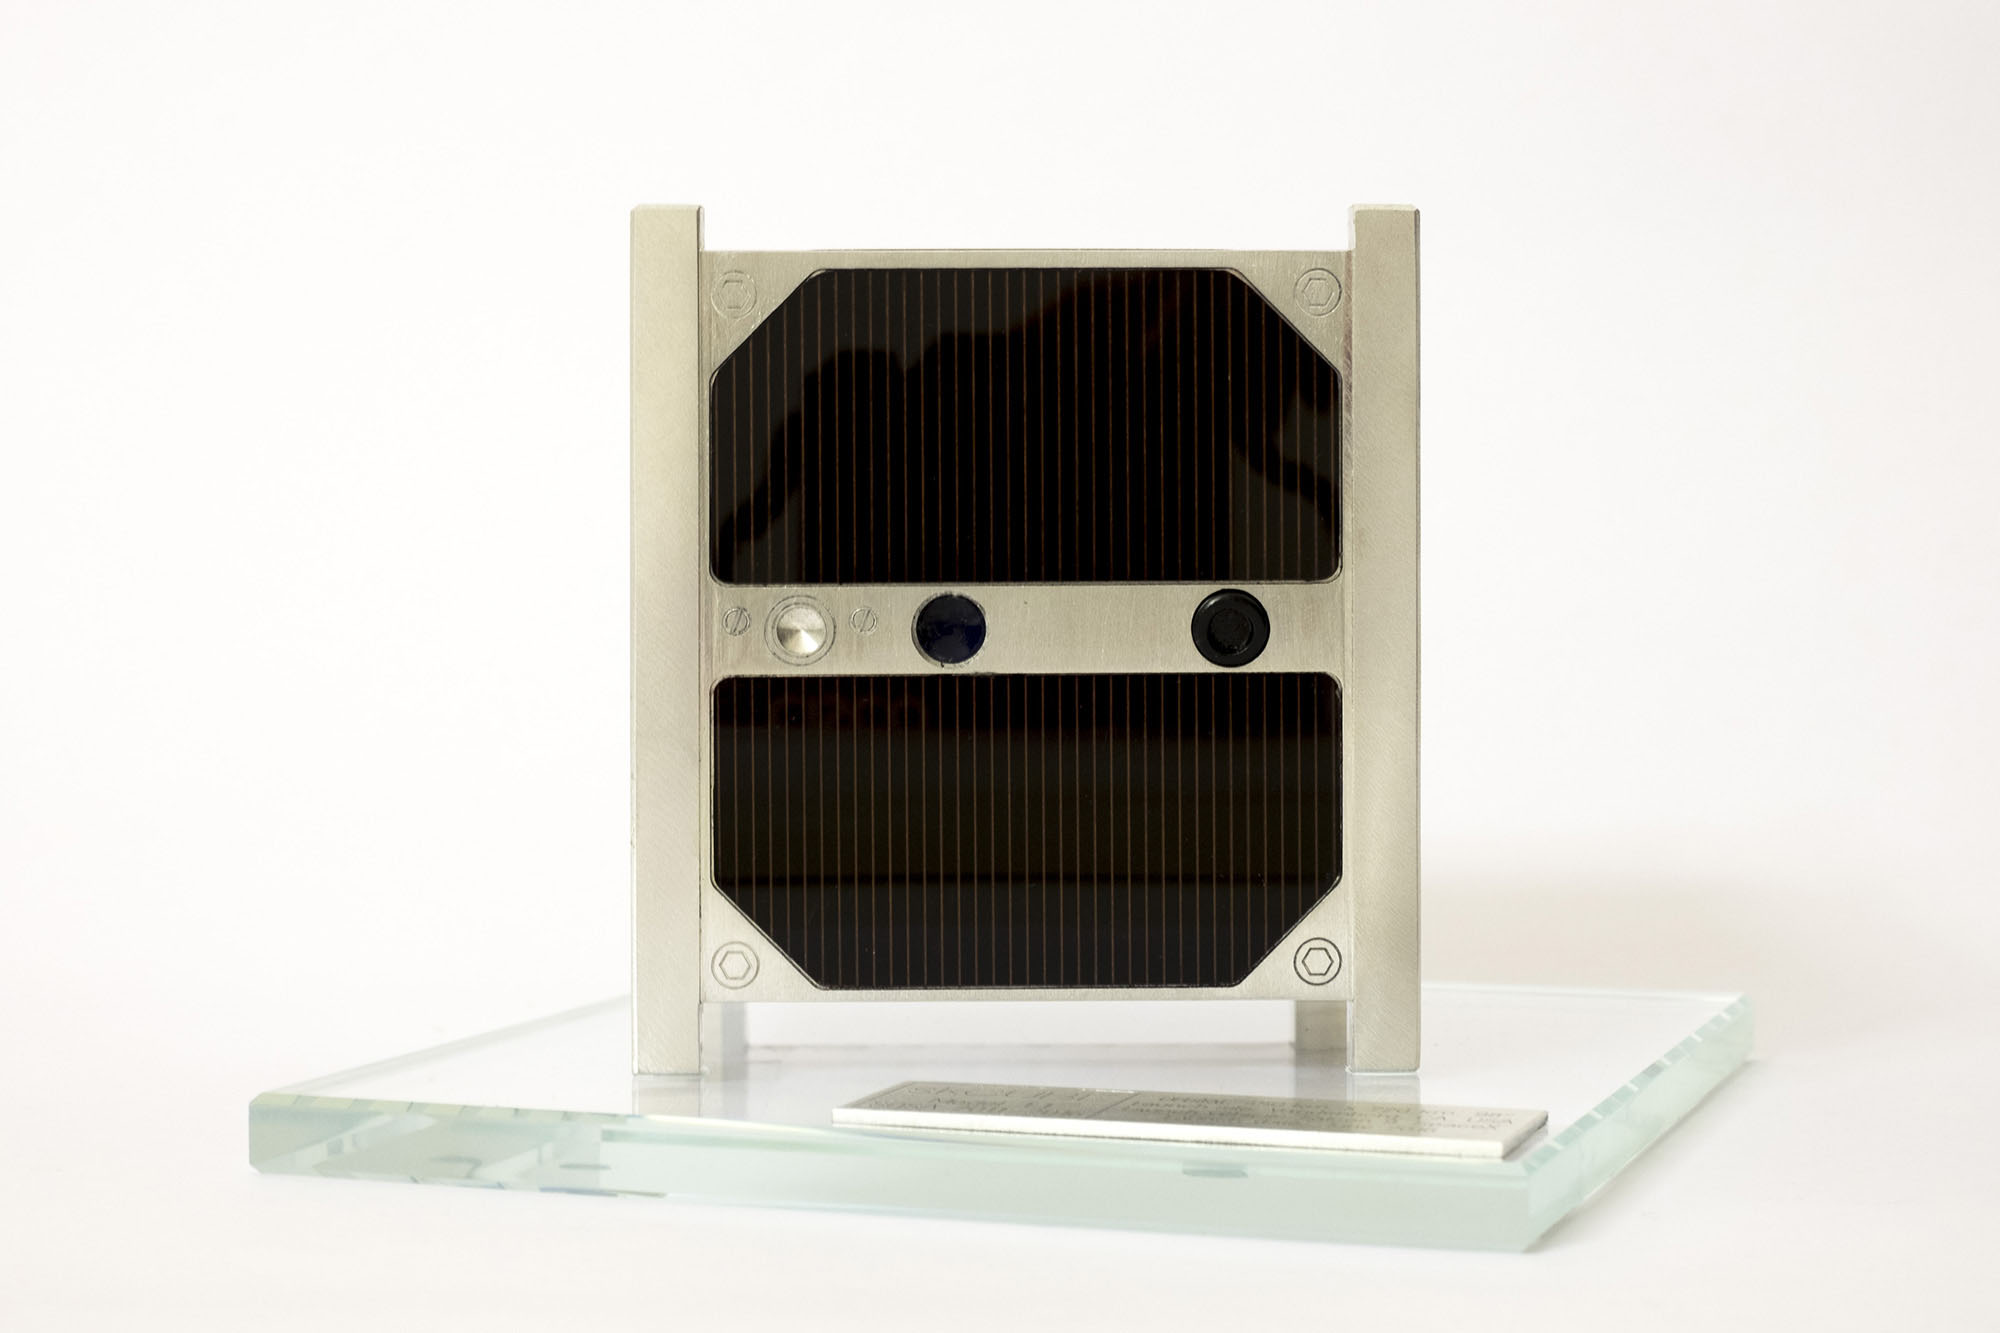
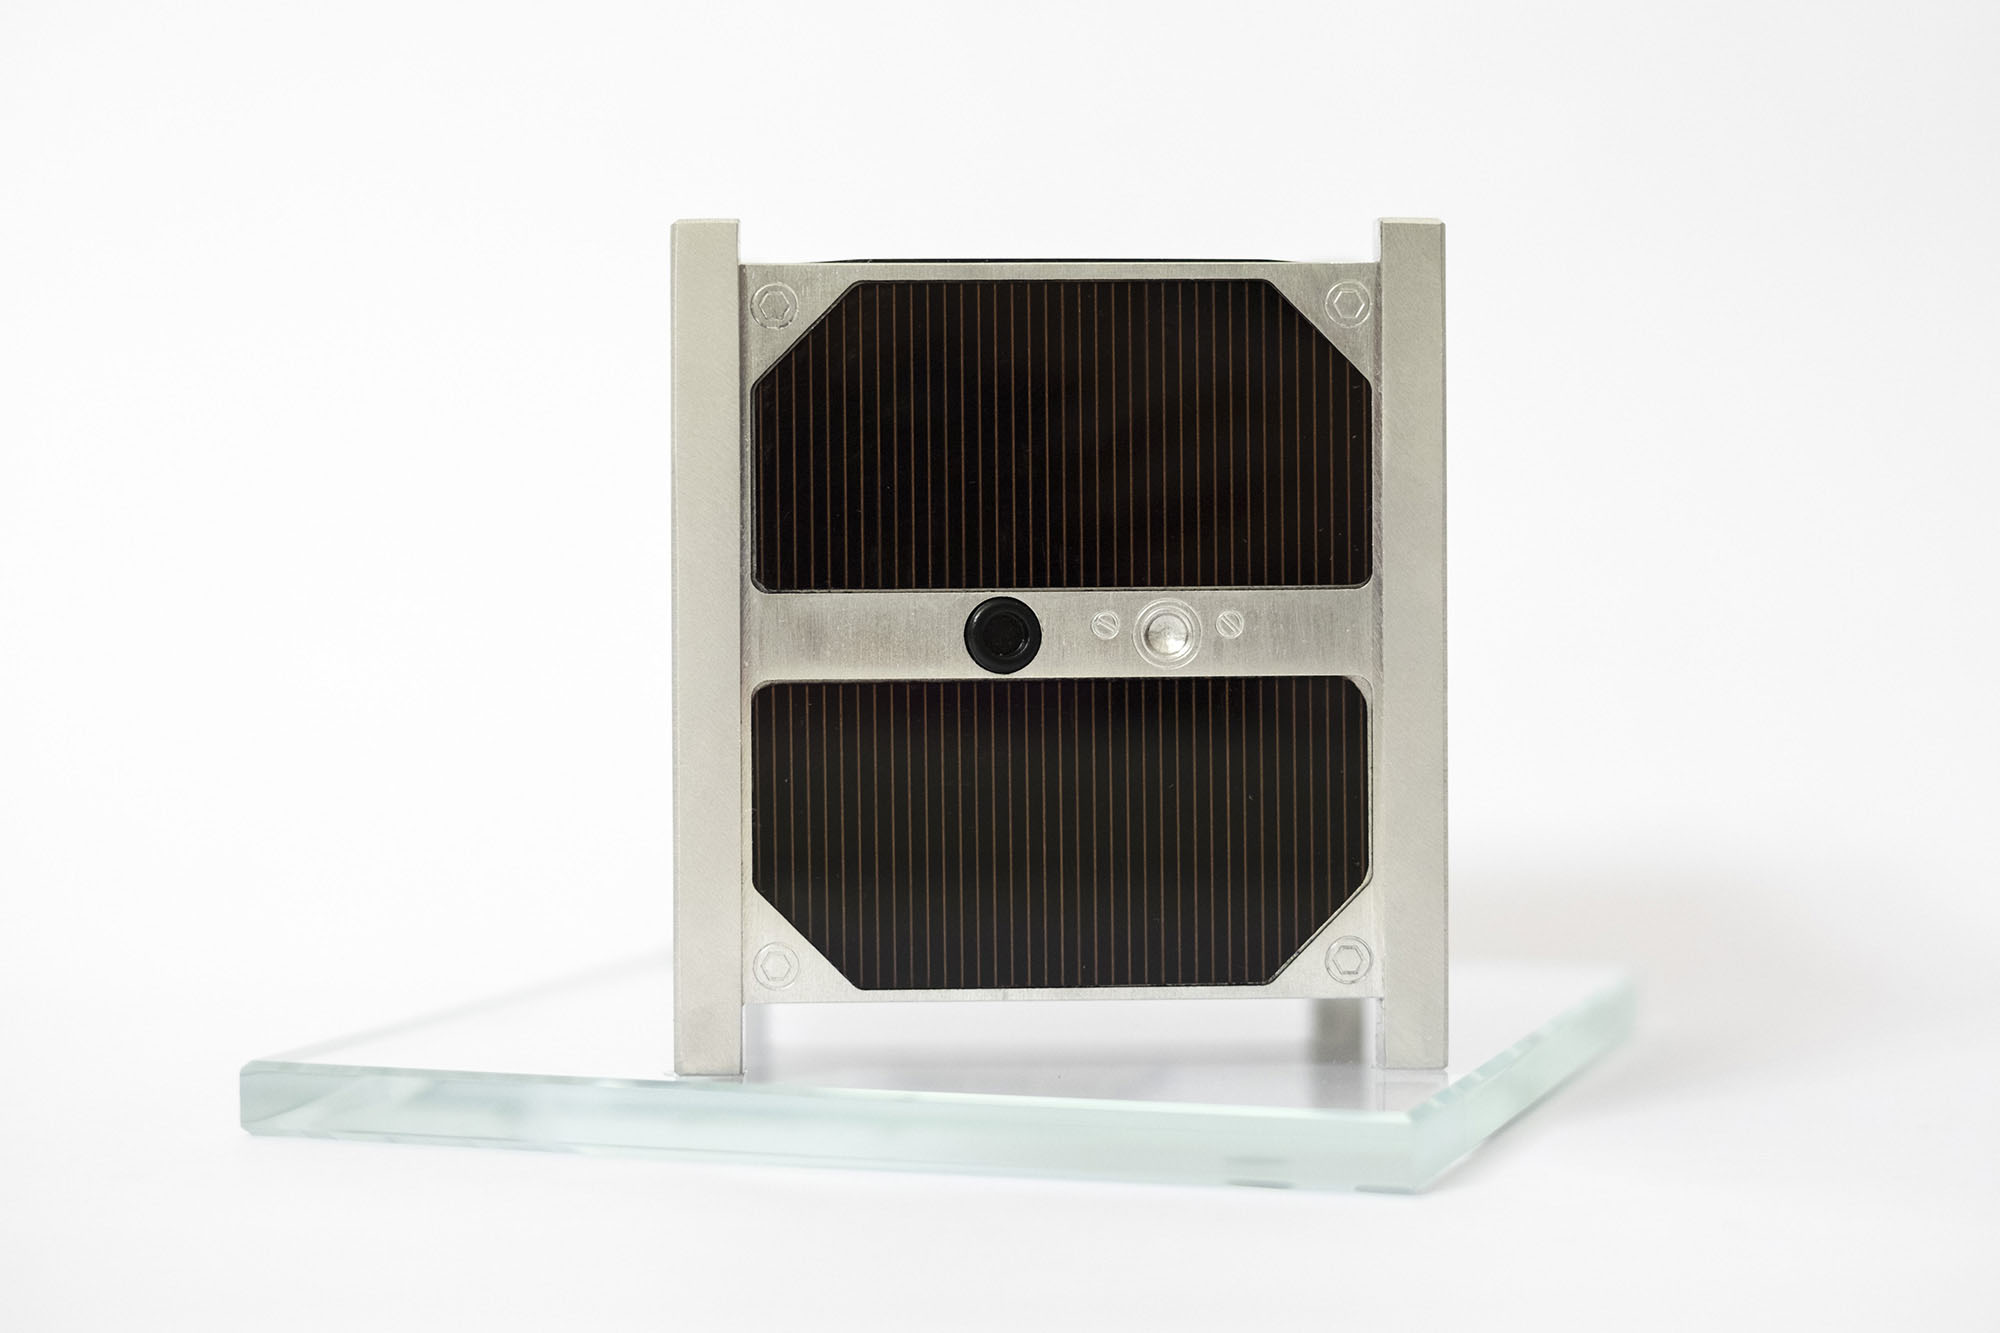
The stand for the satellite was of the extra pure glass and had chamfered edges. Its dimensions were 160 x 160 x 10 mm. The last phase of the project was assembling, bonding and polishing. Each part, especially aluminum body was manually sanded and polished before bonding.
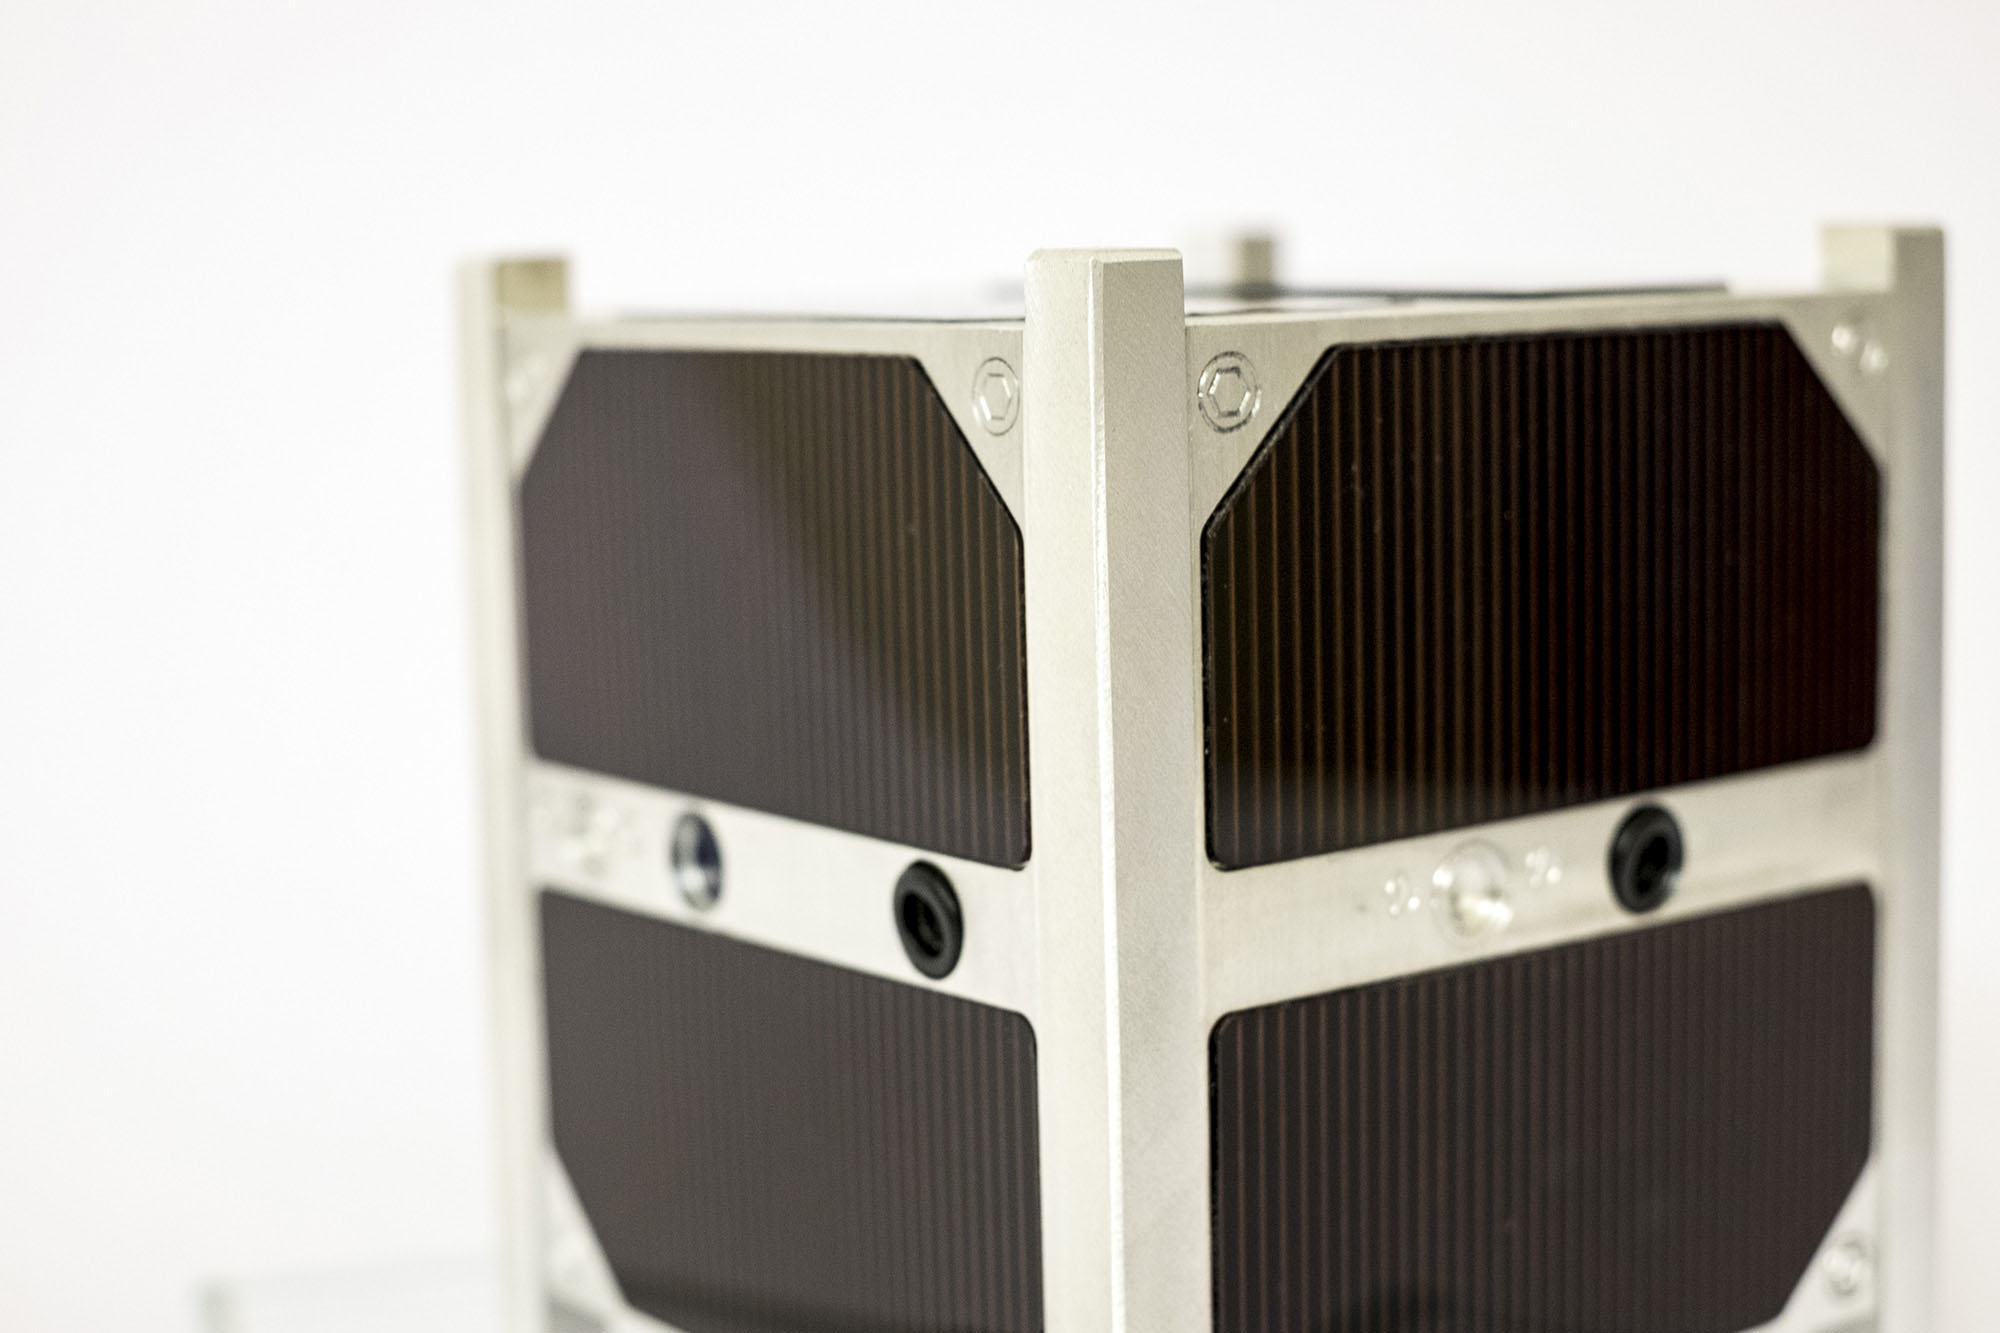
Here is the result

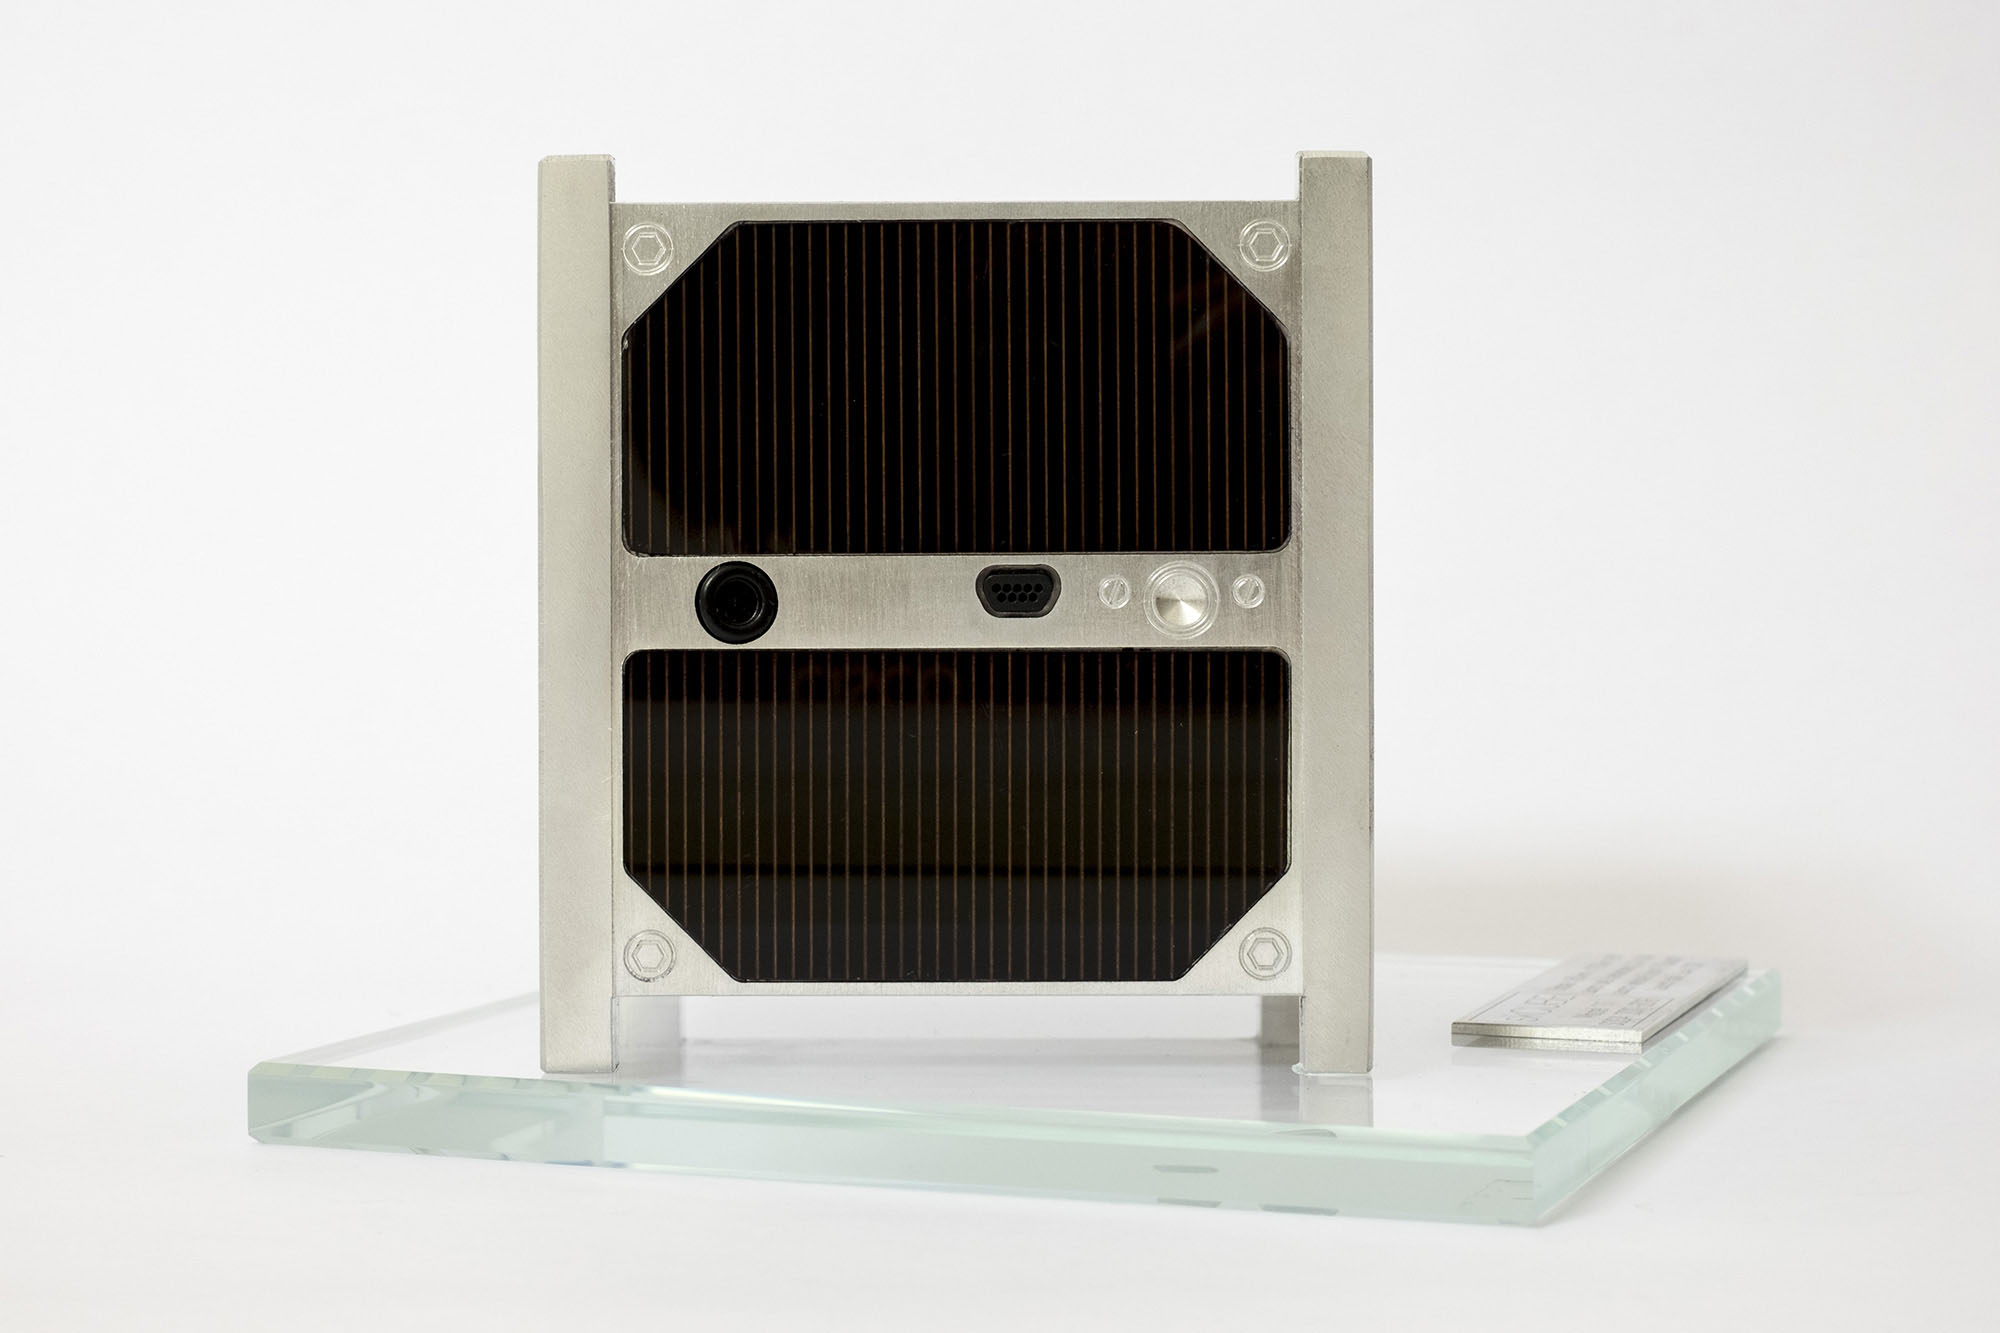

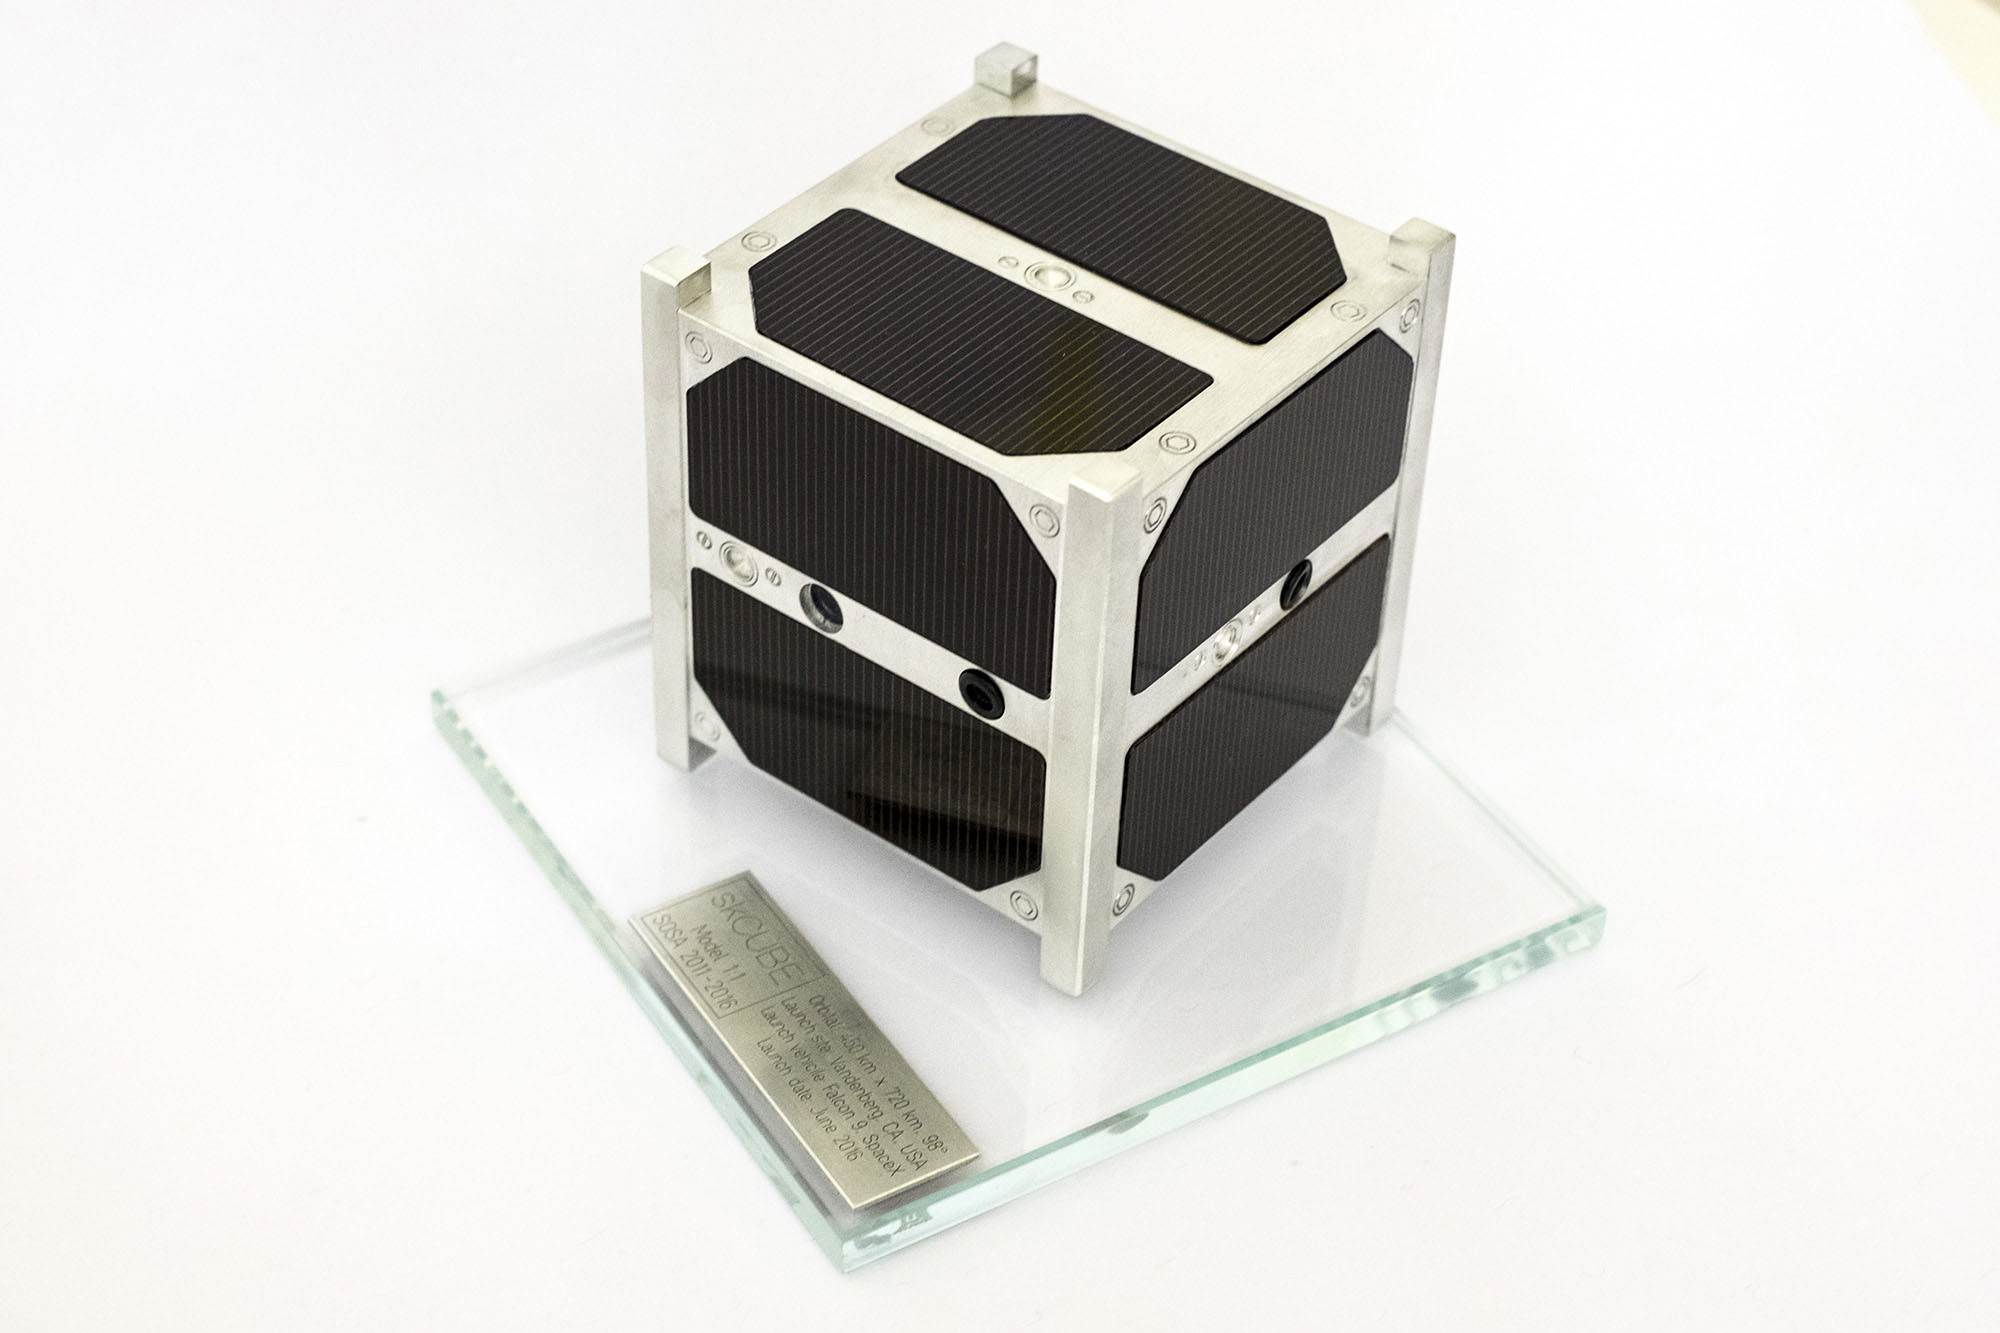
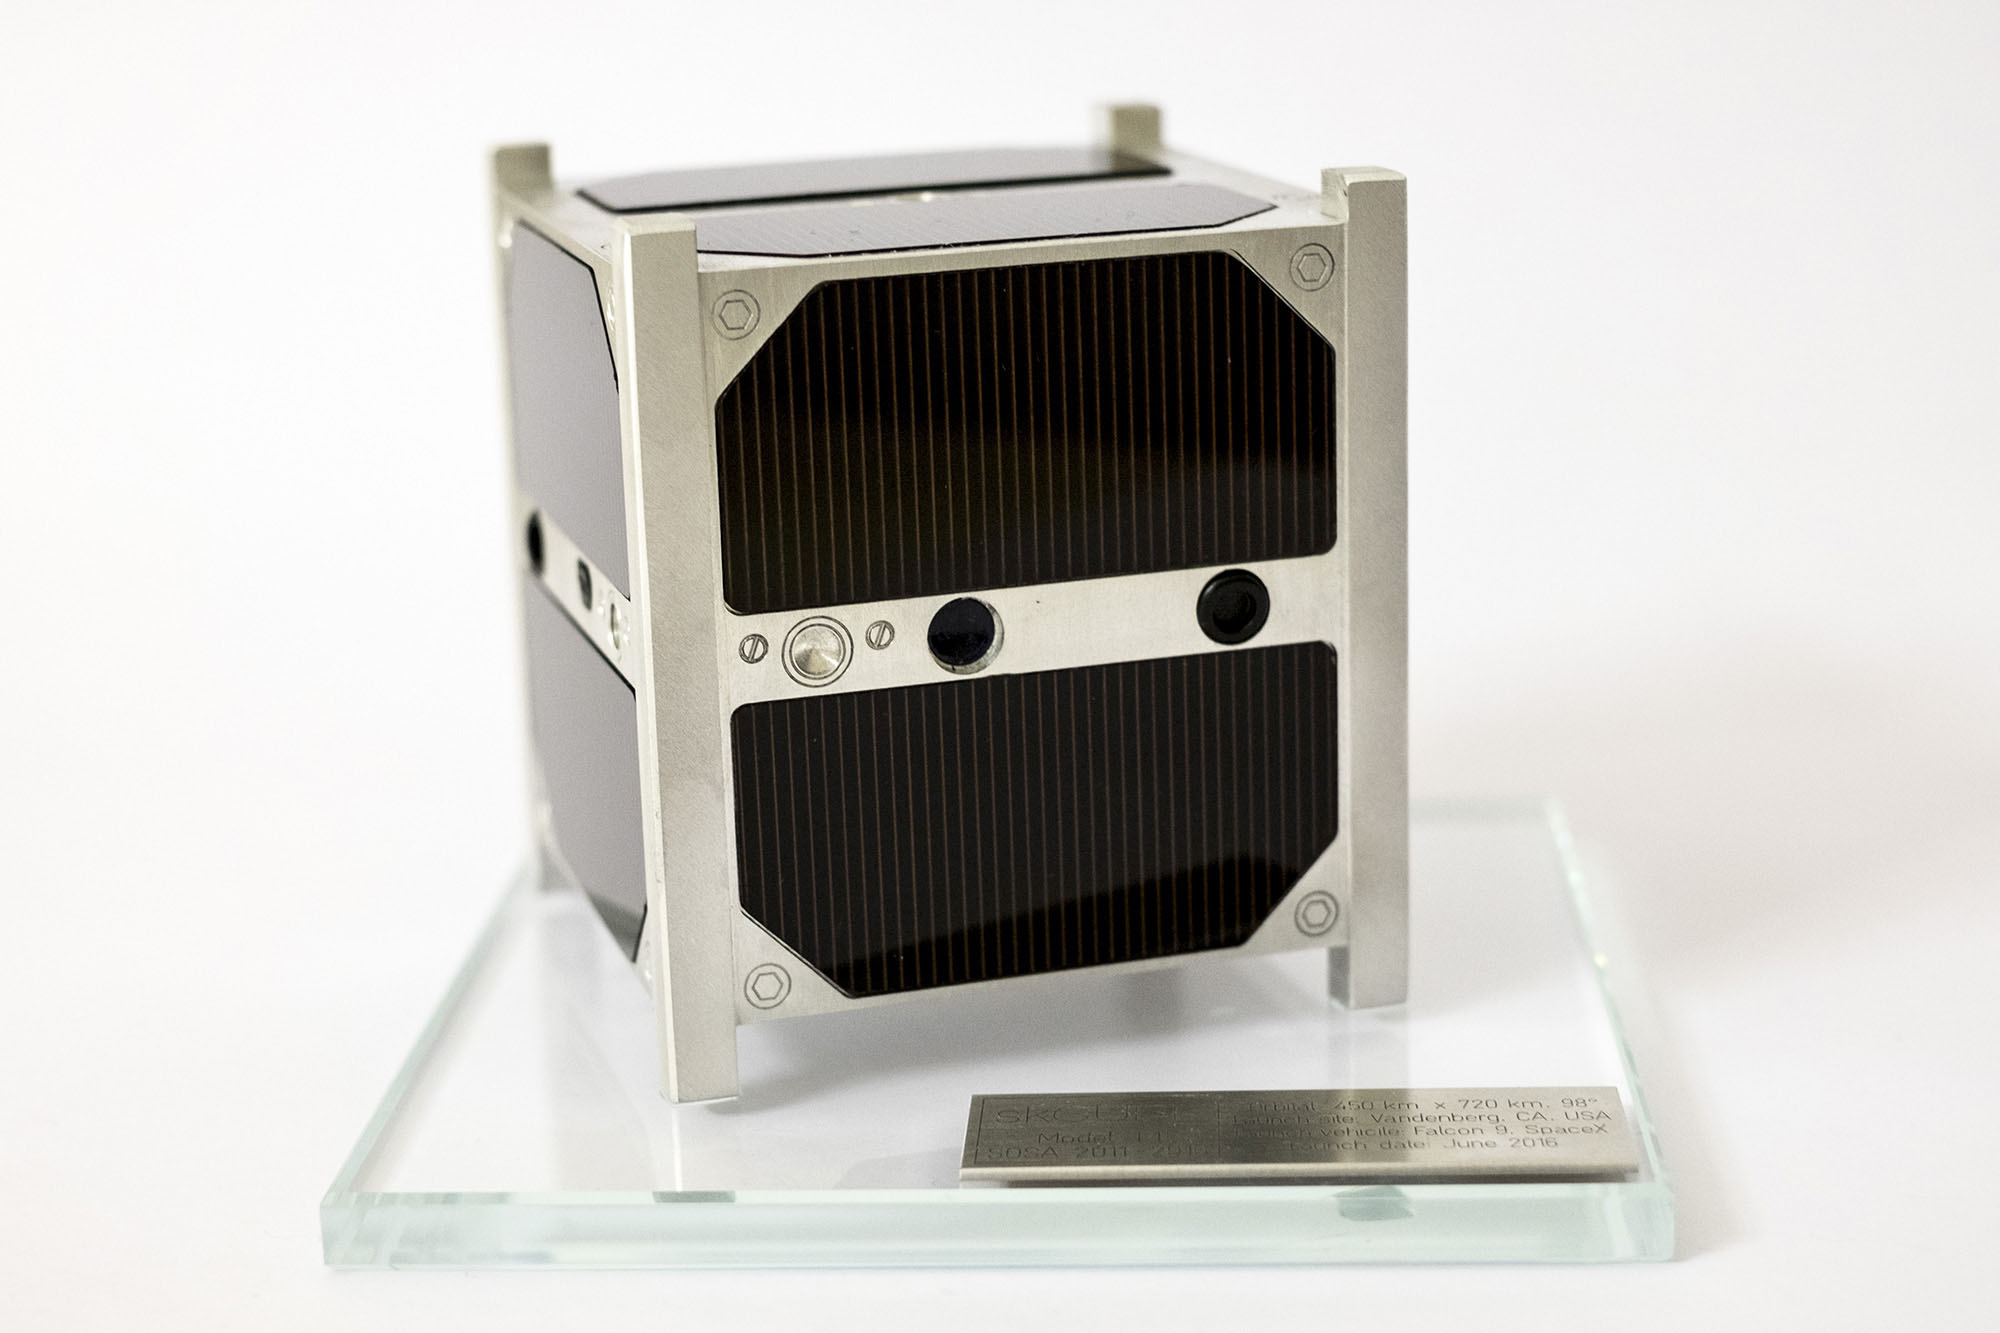
We are very thankful that we could participate in this exciting project. We keep our fingers crossed for the team of SOSA and we wish them a lot of success with their “Slovak cube”, that will be soon launched in space onboard Falcon 9 rocket. If you are excited about the first Slovak satellite, follow their Facebook fan page to receive the latest news.
