From 3D Printing to Miniature
3D printing is an astonishing technology which enables us to create truly interesting objects. The fact that it is developing quickly has been mentioned many times and it would be pointless to repeat it. However, if we’re looking for a perfect surface or special handling of colour, this is where 3D printing becomes sometimes ineffective. Given the process of making objects via 3D printing, often the layering can be seen on the surface of the outcome. In this case, 3D printing becomes only the tool creating a semi-finished product, which is later adjusted manually.
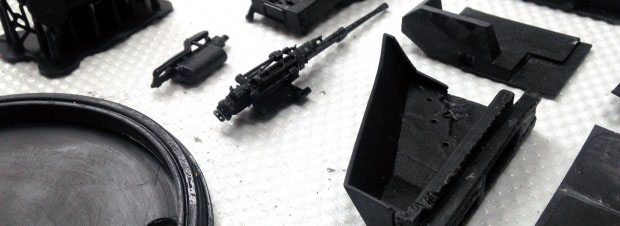
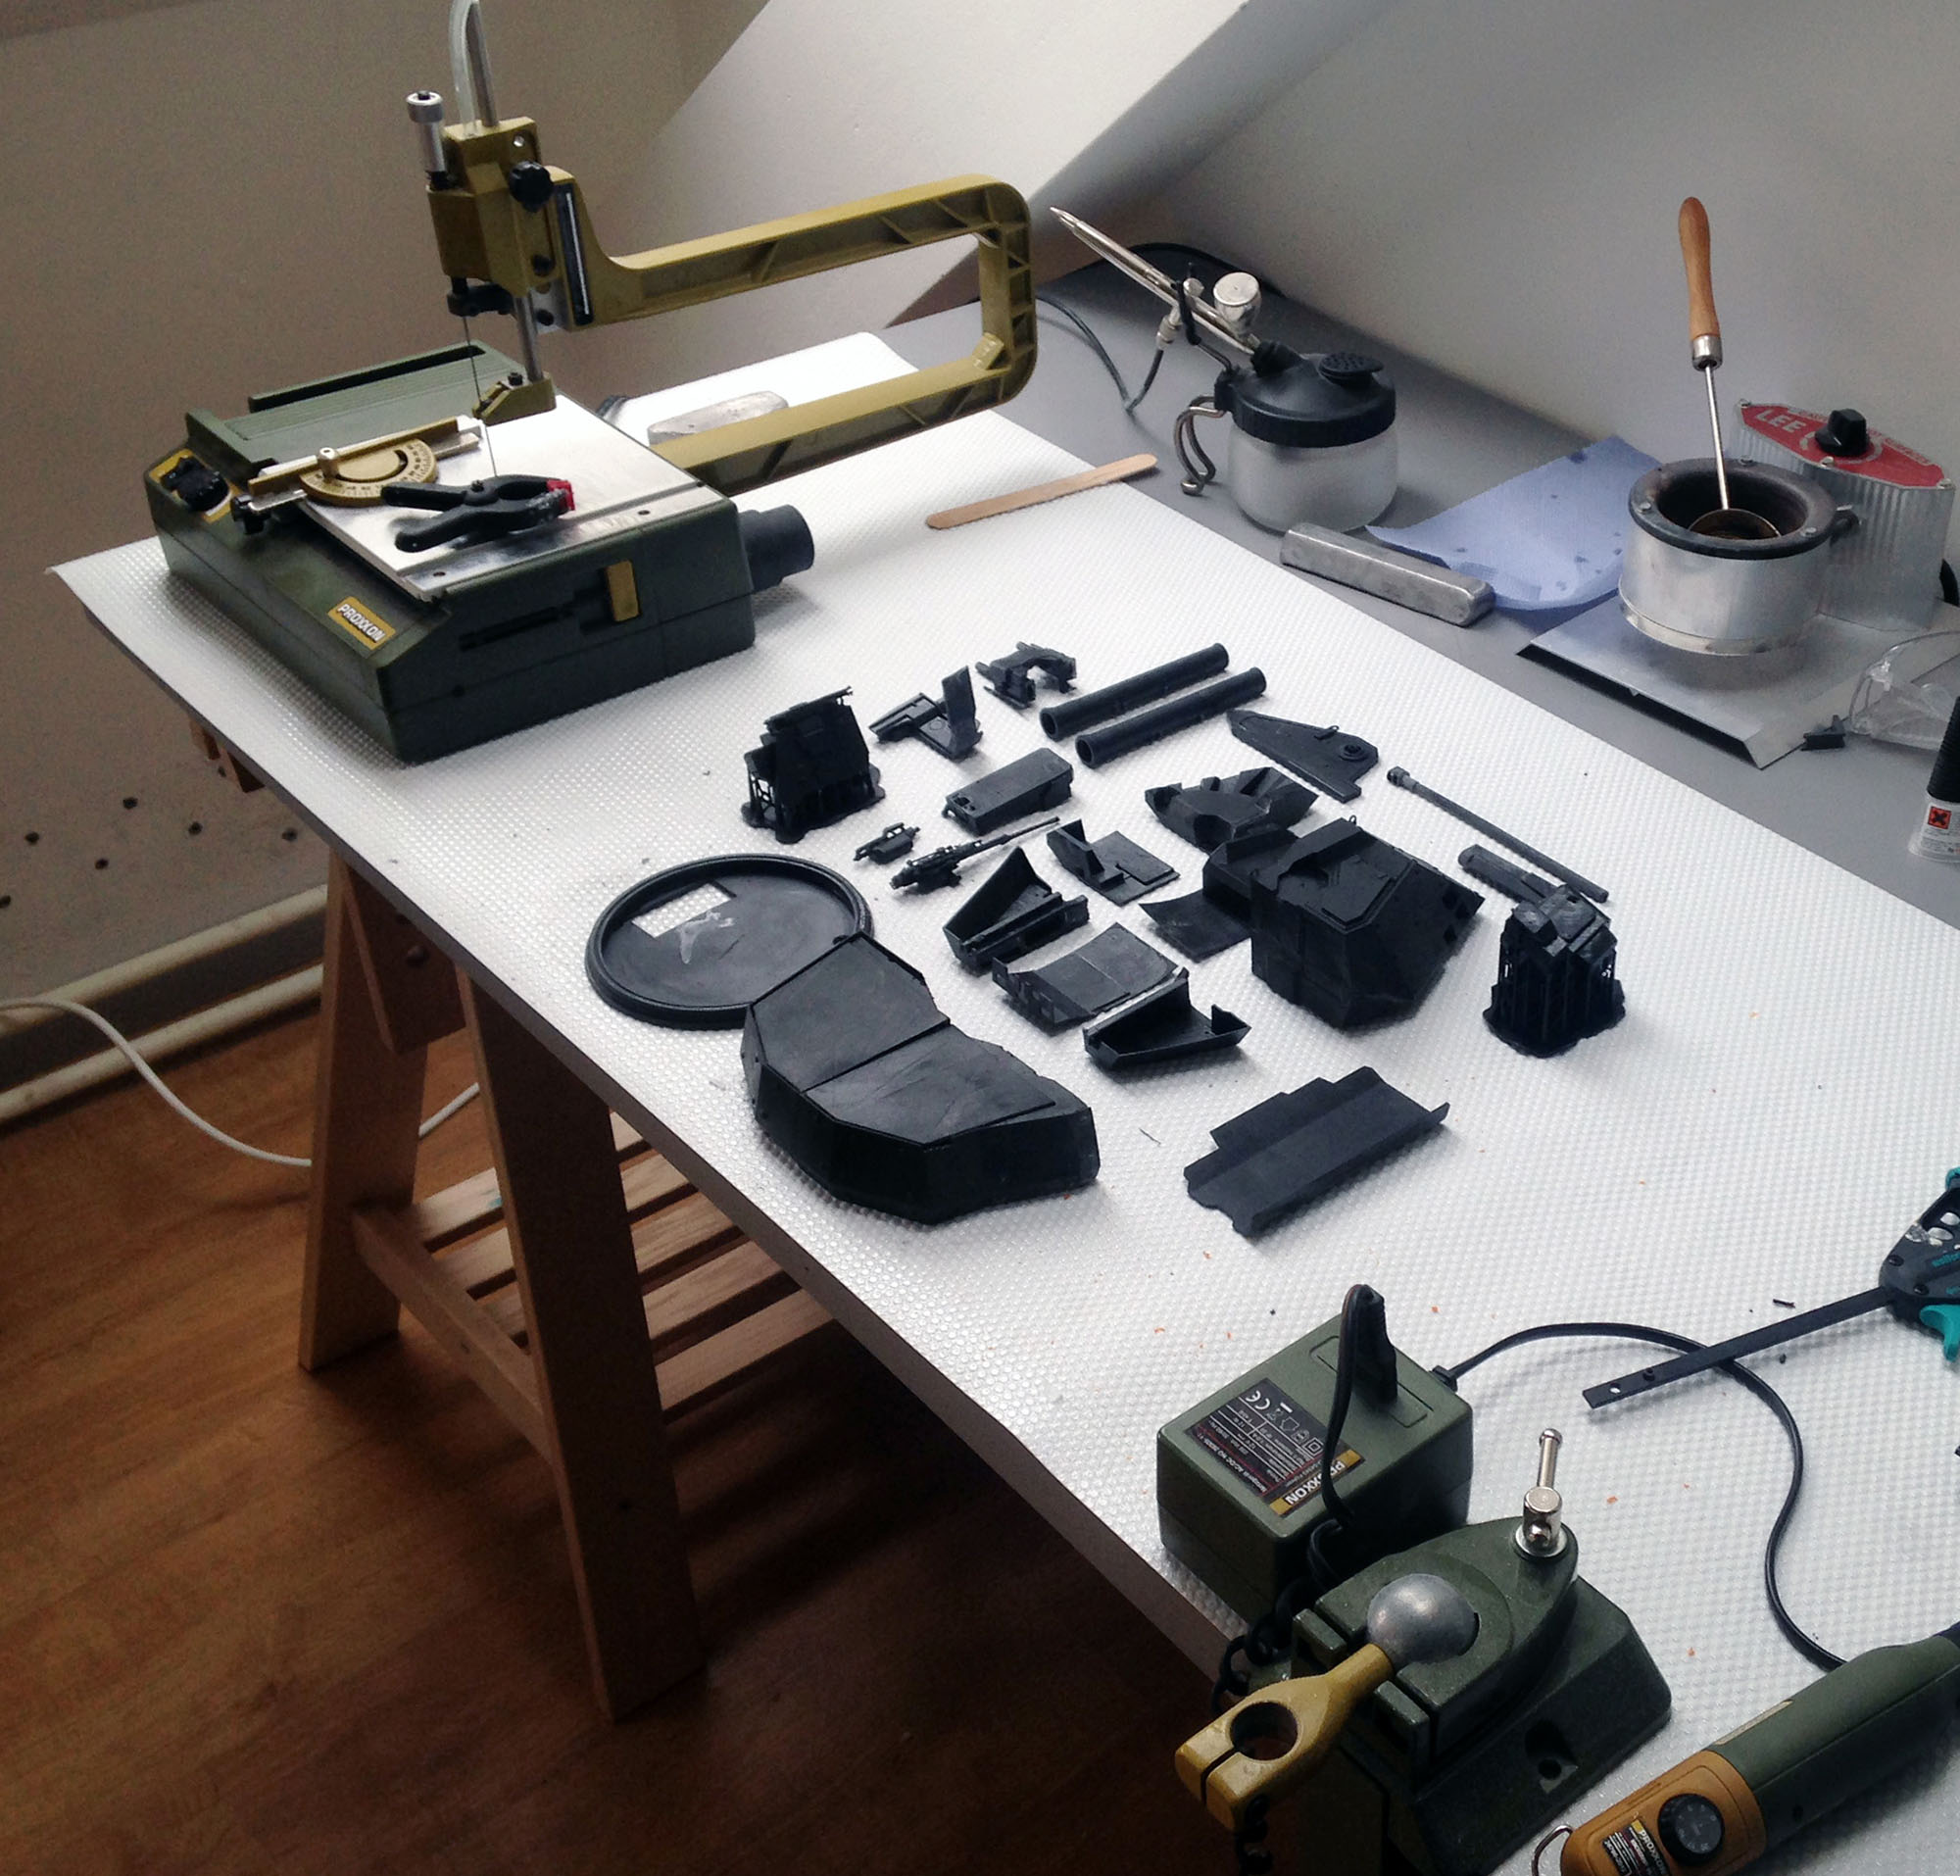
Our recent project in which our job was to create a model of a tower with a cannon can be used as an example. The size or complexity of the model didn’t allow us to print it all at once. To preserve the details the parts were all printed in the Formlabs printer at a high resolution (100 microns). The maximum dimensions of the printed product are 125 x 125 x 165 mm – this is why we divided the model into approximately 20 smaller parts first. It was necessary to make the joints in non-visible or barely visible places. The printed parts were then cleaned of supporting structures and disparity, grinded and filled in. When the parts are ready and fitting, the dyeing begins. Quick-drying acrylic paint able to cover the surface nicely was used. Dyeing, grinding and bonding took place together, since often new disparities occurred during dying. Whilst one part was getting dry, the other’s surface was being grinded. Mainly epoxy glue made of two components with good strength and ability to create a stable link was used for bonding. Gel superglue proved useful for smaller things and links.
Working process and bonding of parts
We worked on this model for almost eight days but the result was worth it. The client was satisfied and it was a valuable experience, which we can recast in further and greater projects.


